Microsoft Entra
To configure HostedScan as a Service Provider in Microsoft Entra ID, follow these steps:
-
In Entra, create a new Enterprise application: Add an enterprise application.
-
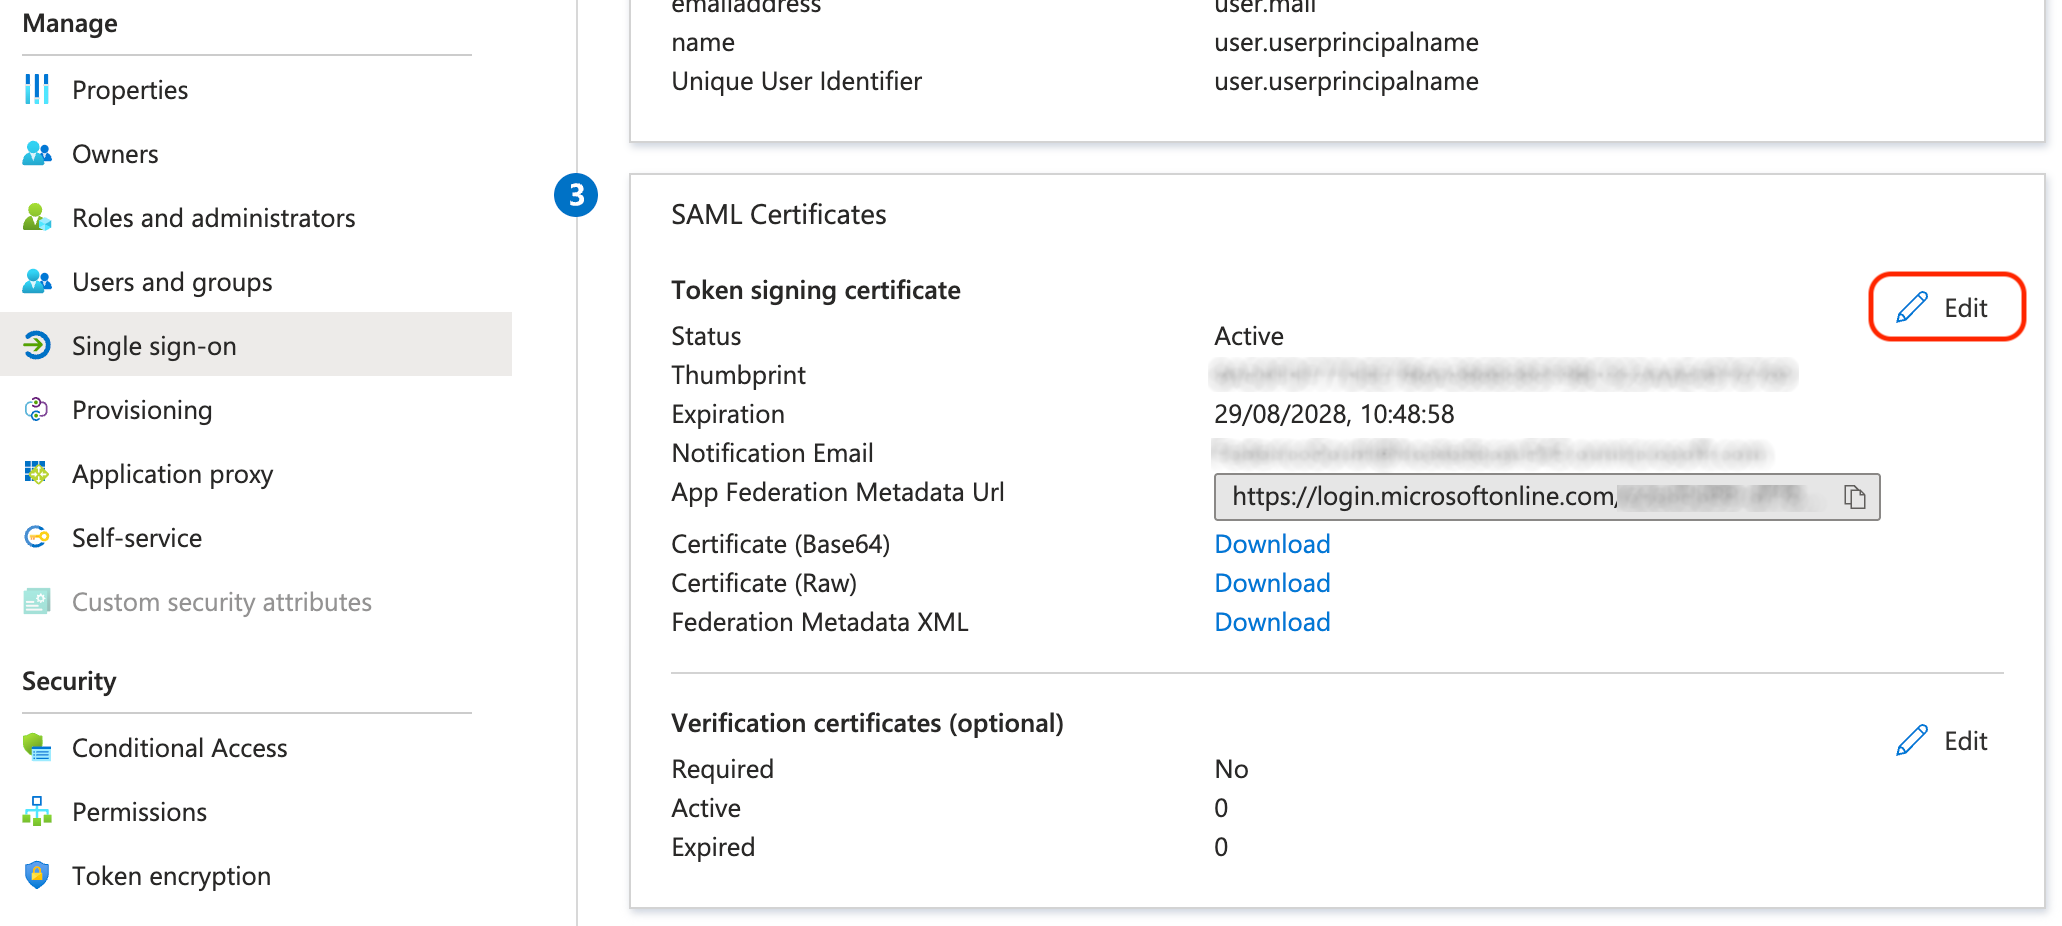
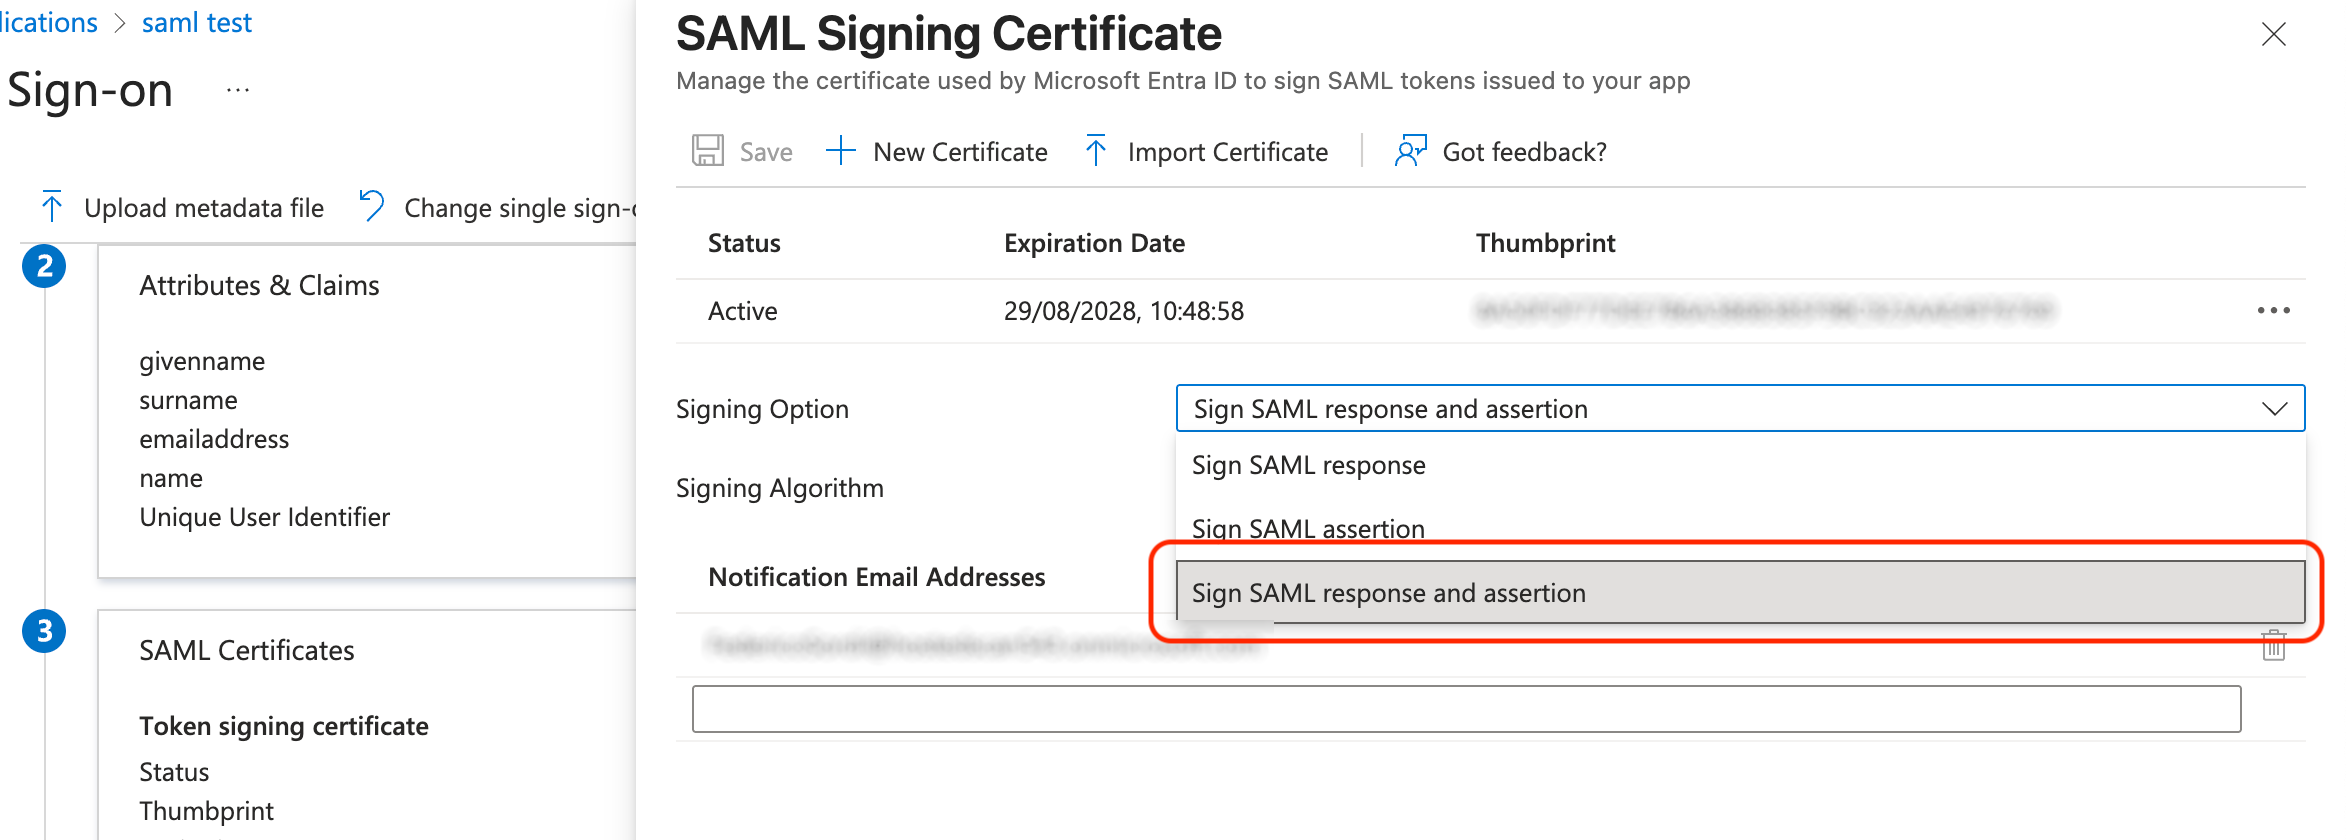
Configure Entra to sign both the SAML response and the assertions. On the application's Single sign-on page, in section 3 SAML Certificates, click Edit next to Token signing certificate, set Signing Option to Sign SAML response and assertion, and click Save.
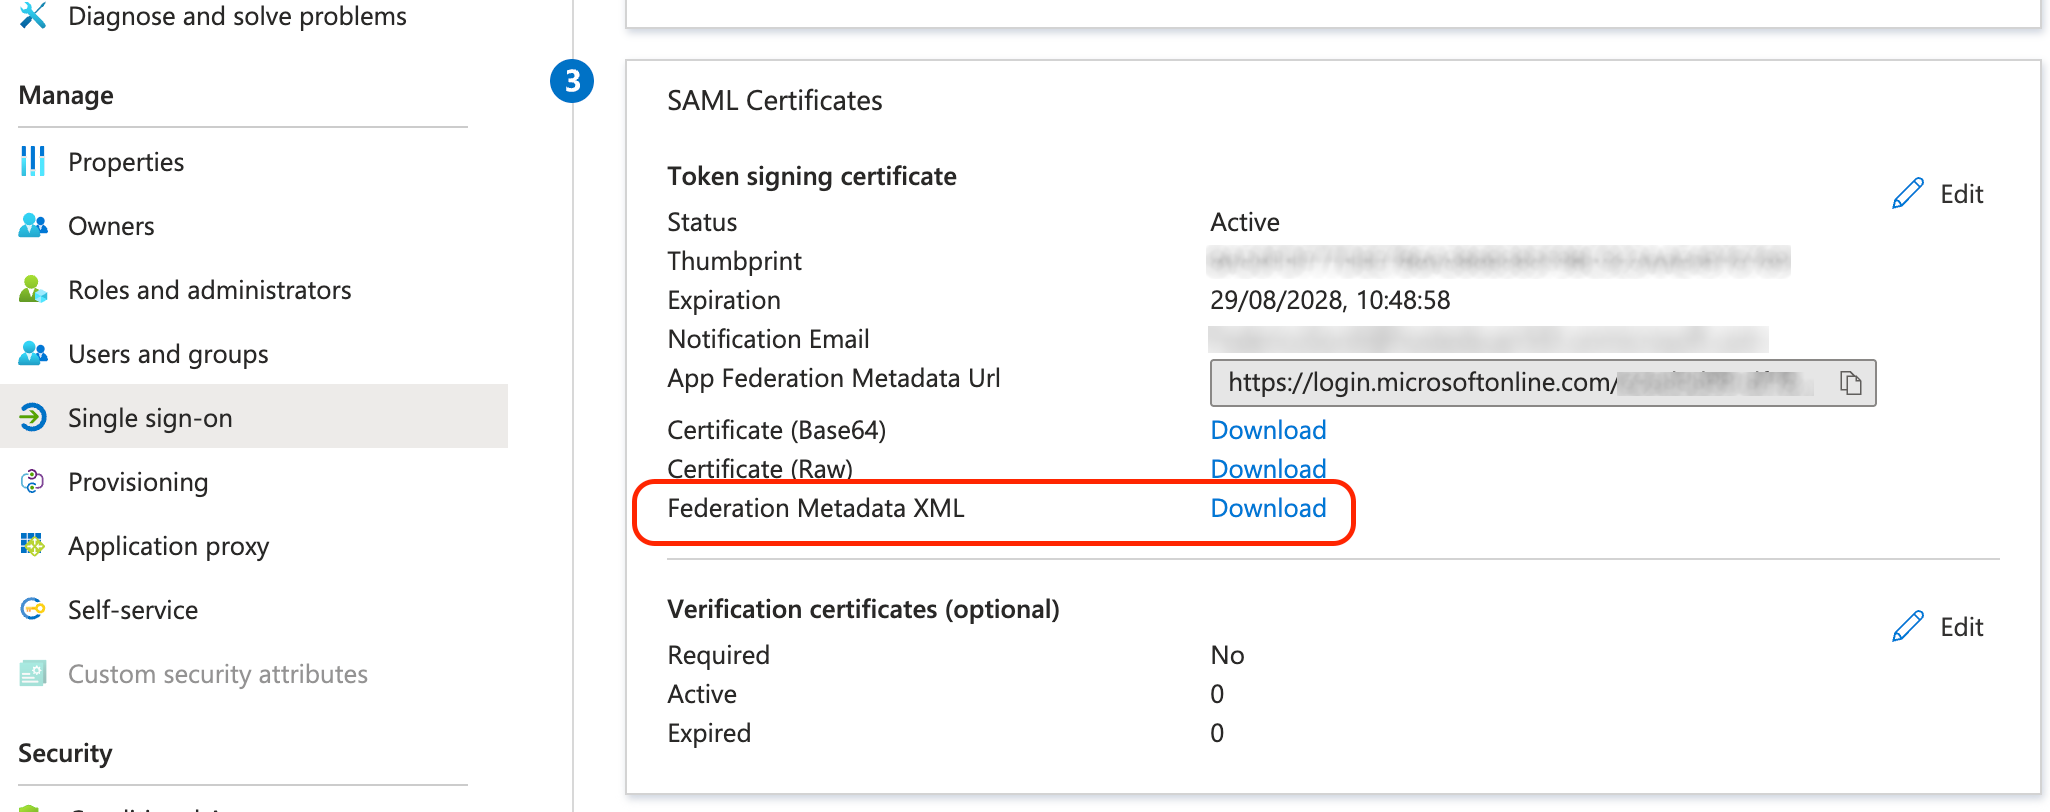
- Download the Entra metadata: in the same SAML Certificates section, click Download next to Federation Metadata XML.
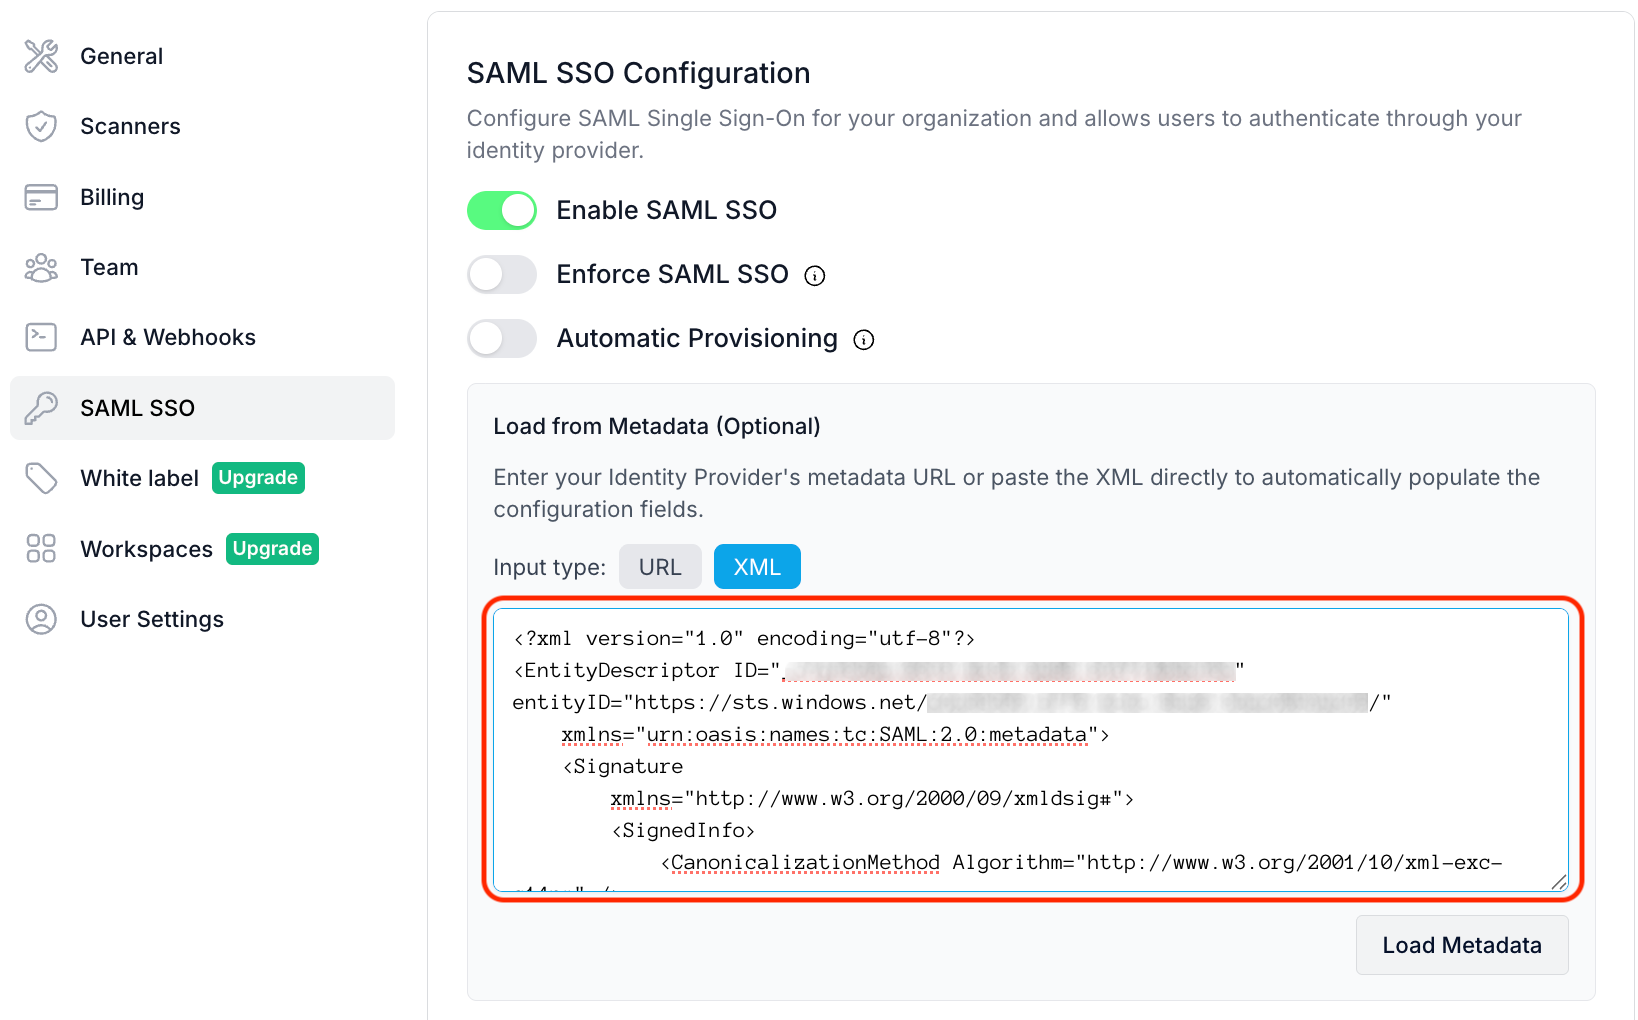
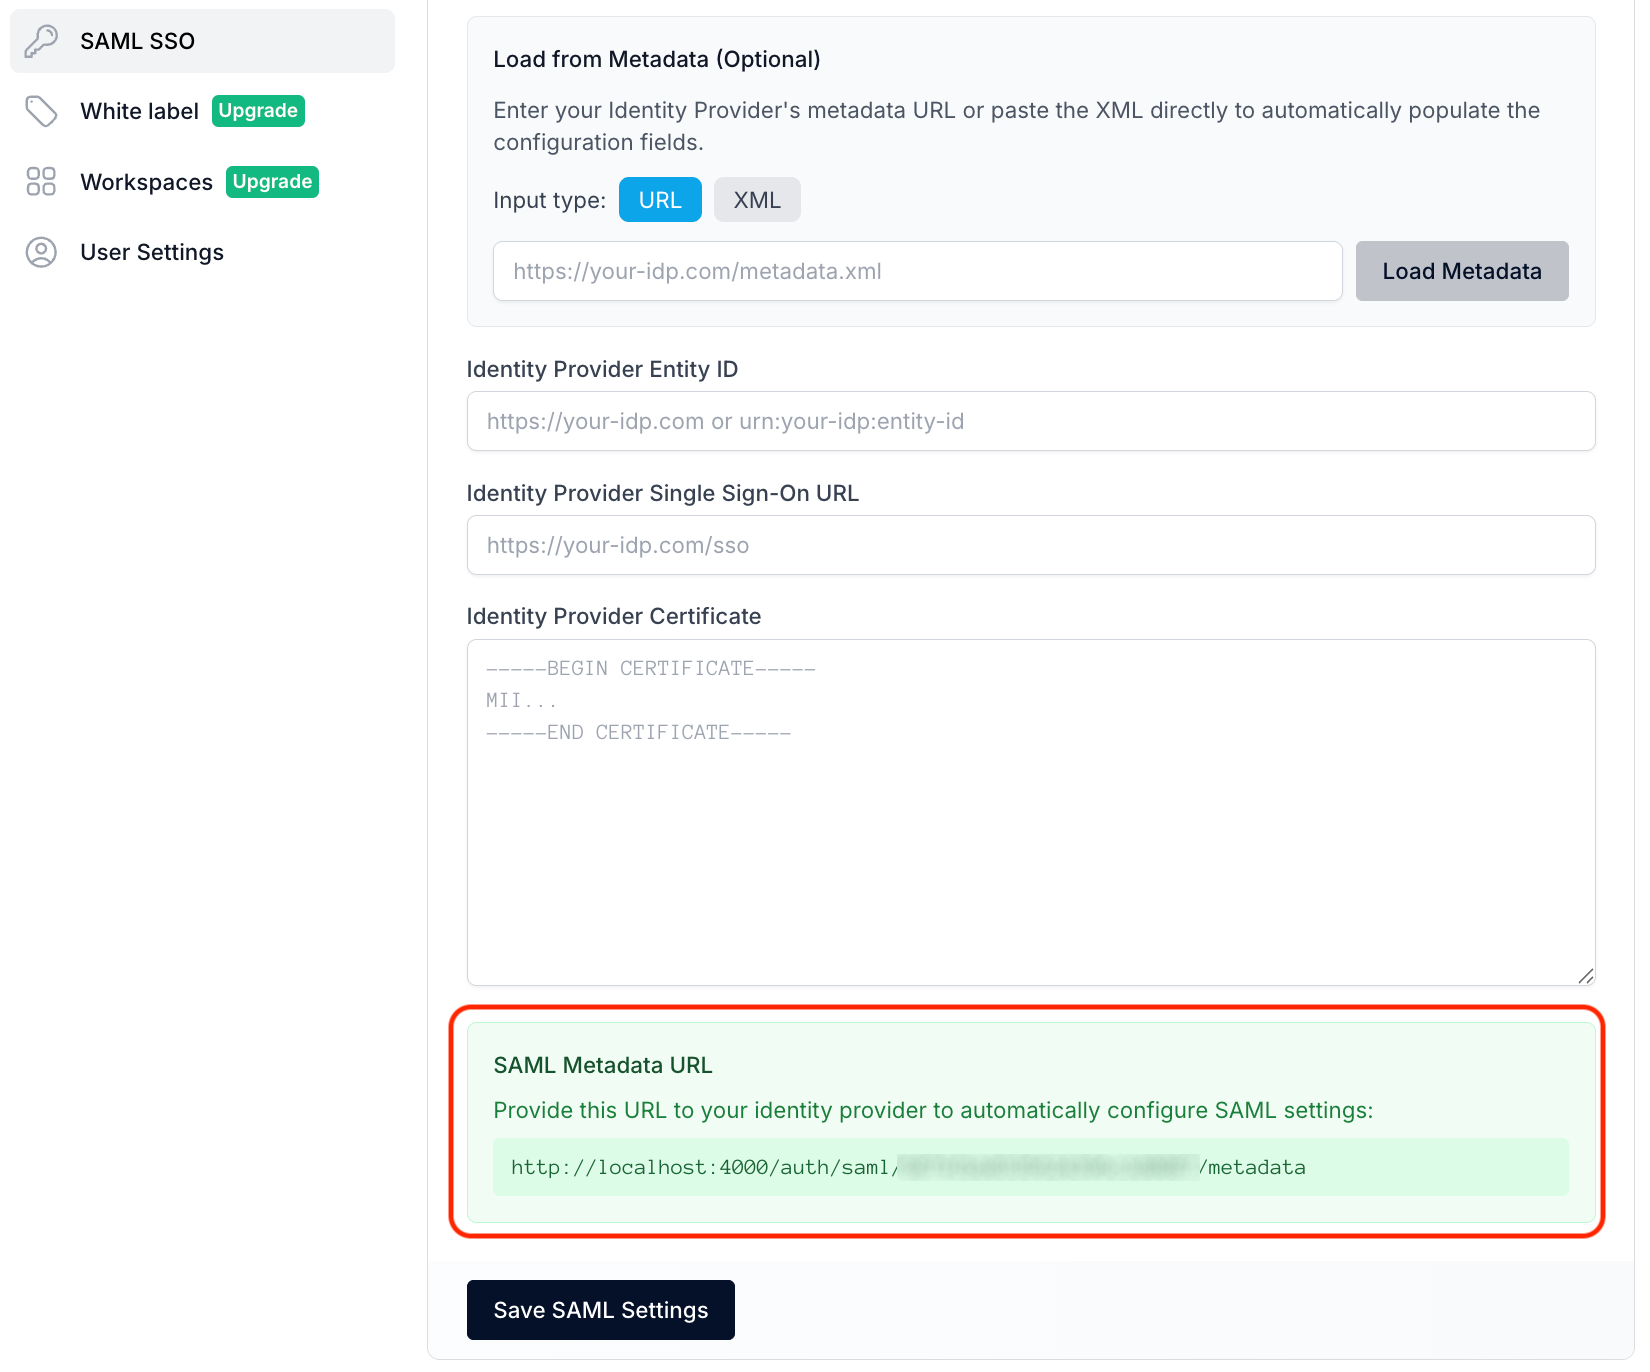
- In HostedScan, open Settings → SAML SSO, enable SAML SSO, and under Load from Metadata choose the XML input type, paste the contents of the downloaded file, and click Load Metadata to populate the Identity Provider fields.
- Get HostedScan's metadata file: copy the SAML Metadata URL shown below the Identity Provider fields (
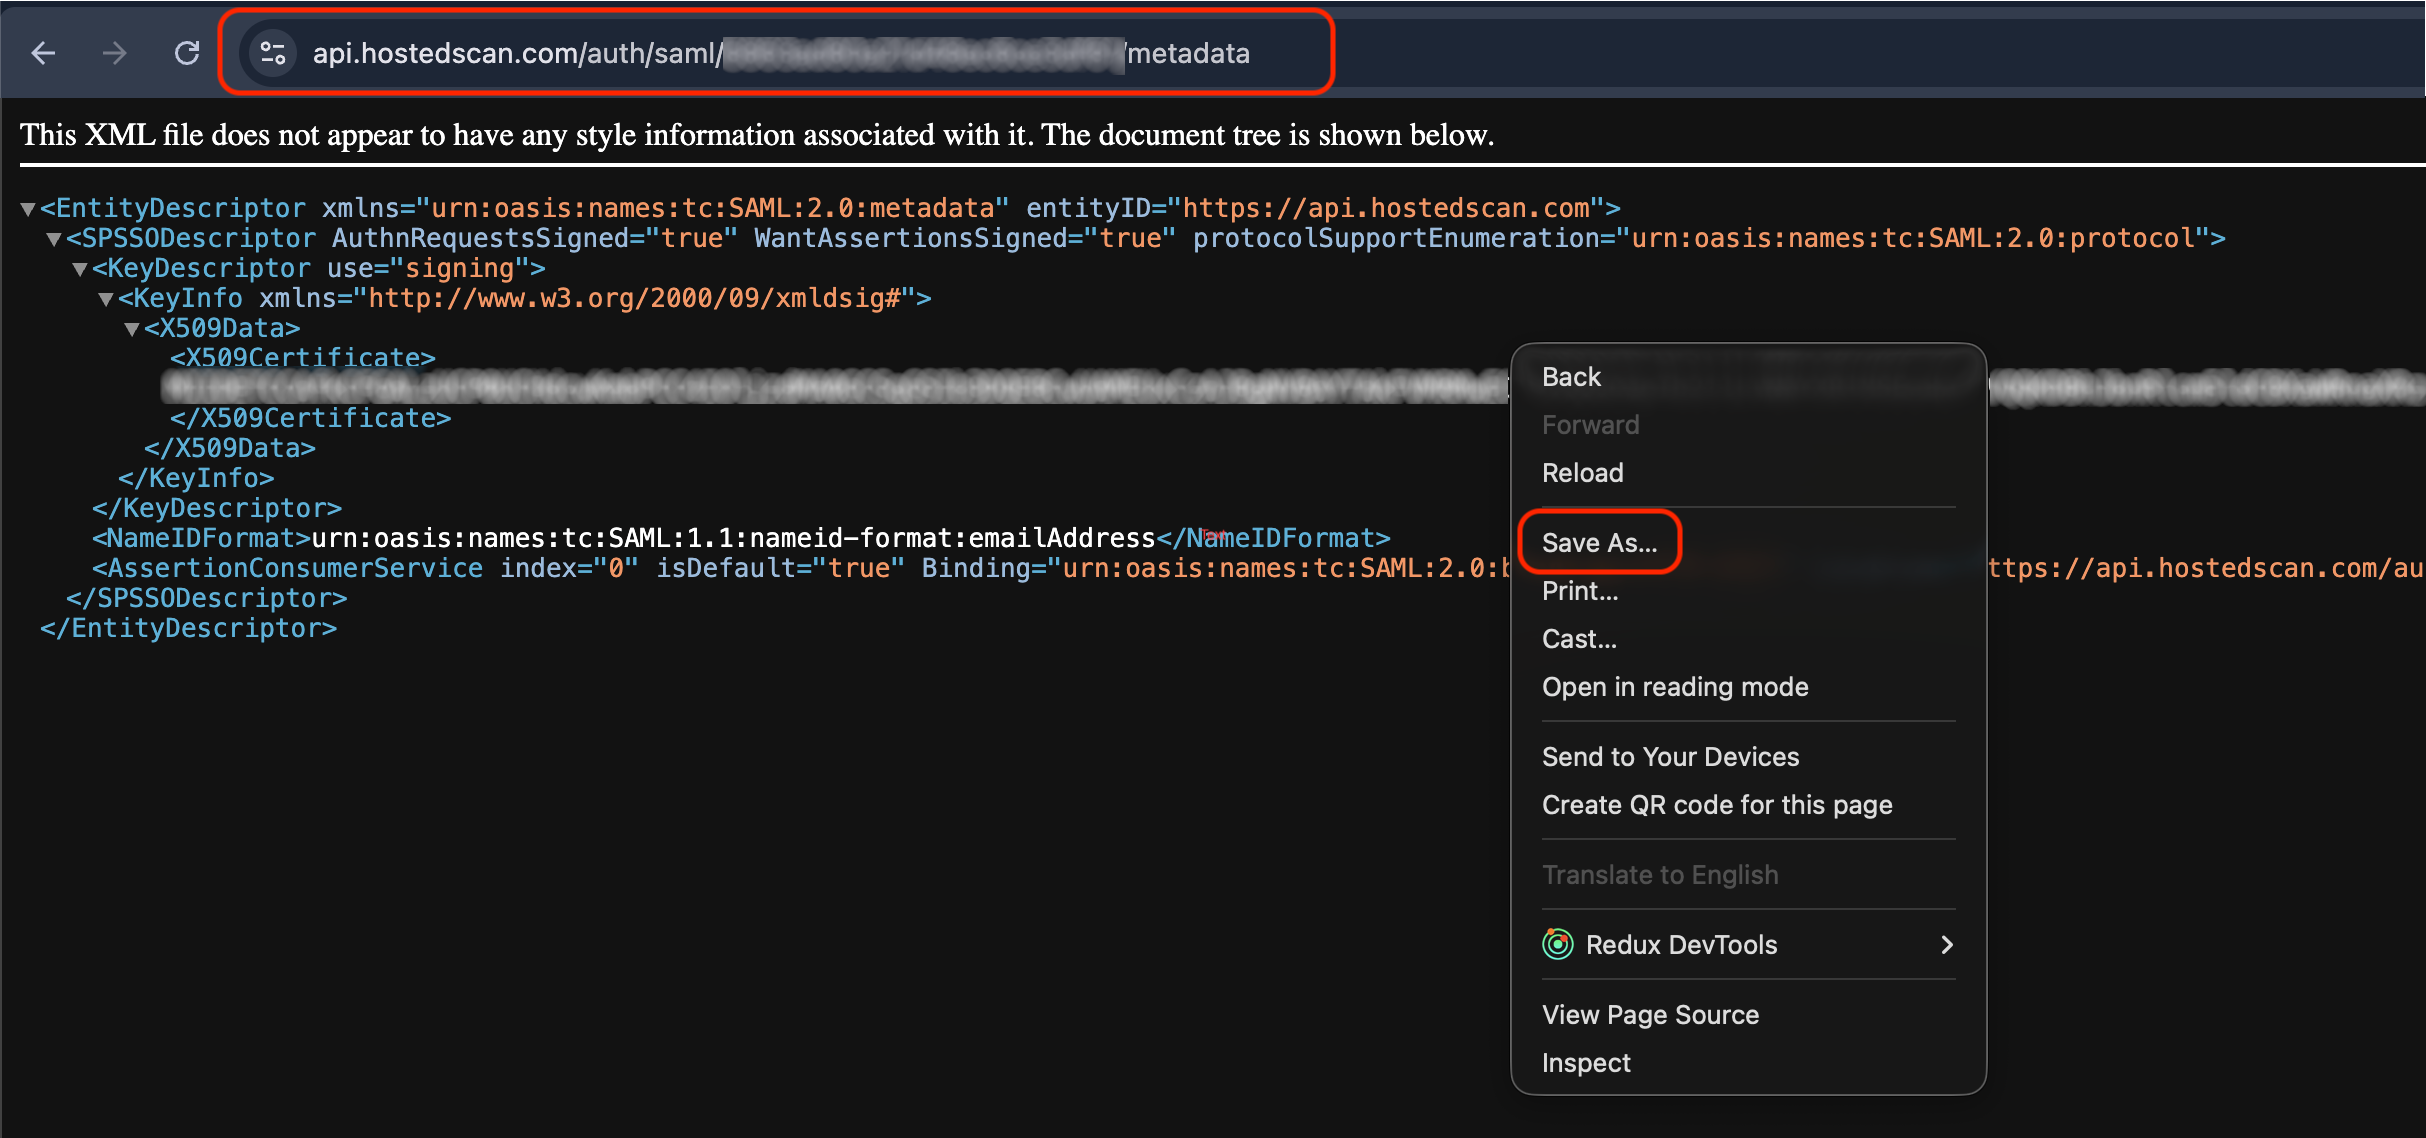
https://api.hostedscan.com/auth/saml/<your-id>/metadata), open it in a browser, and save the XML to a file (for example with Save As…).
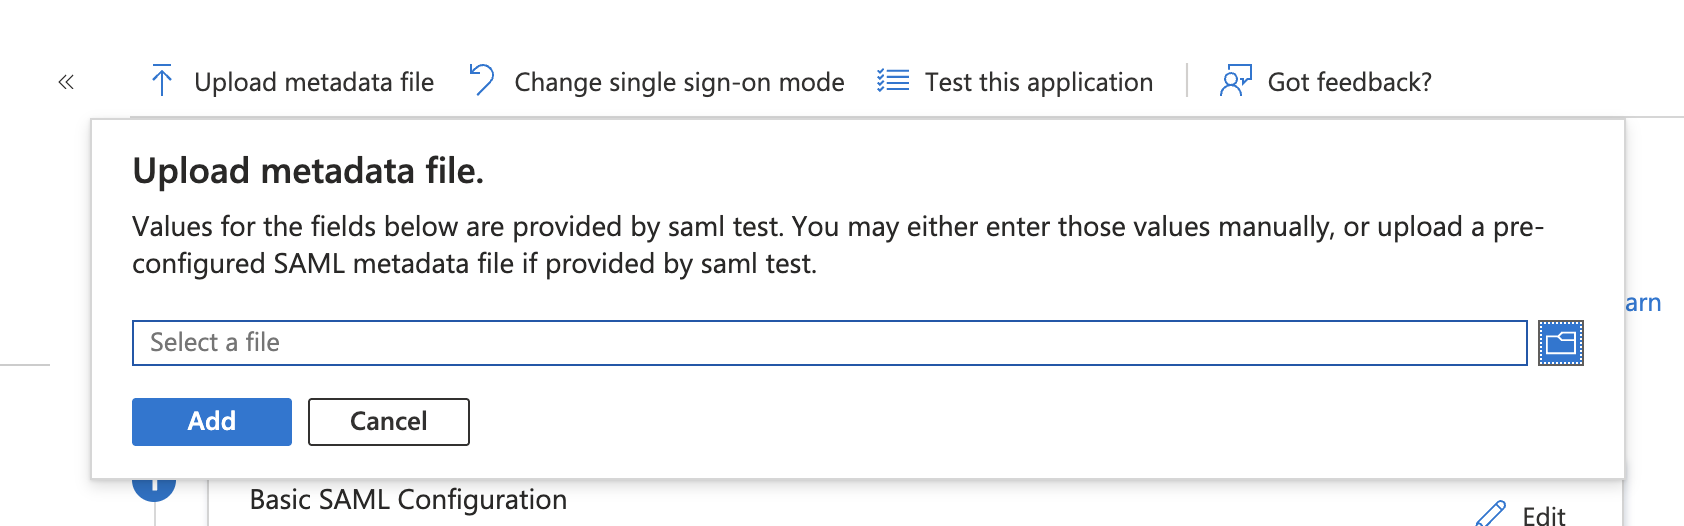
- Back in Entra, on the application's Single sign-on page, click Upload metadata file, select the file you just saved, and click Add.
-
Assign the people who should be able to sign in: on the application's Users and groups page, click Add user/group and add the users or groups. Users who are not assigned get an Entra error when they try to sign in.
-
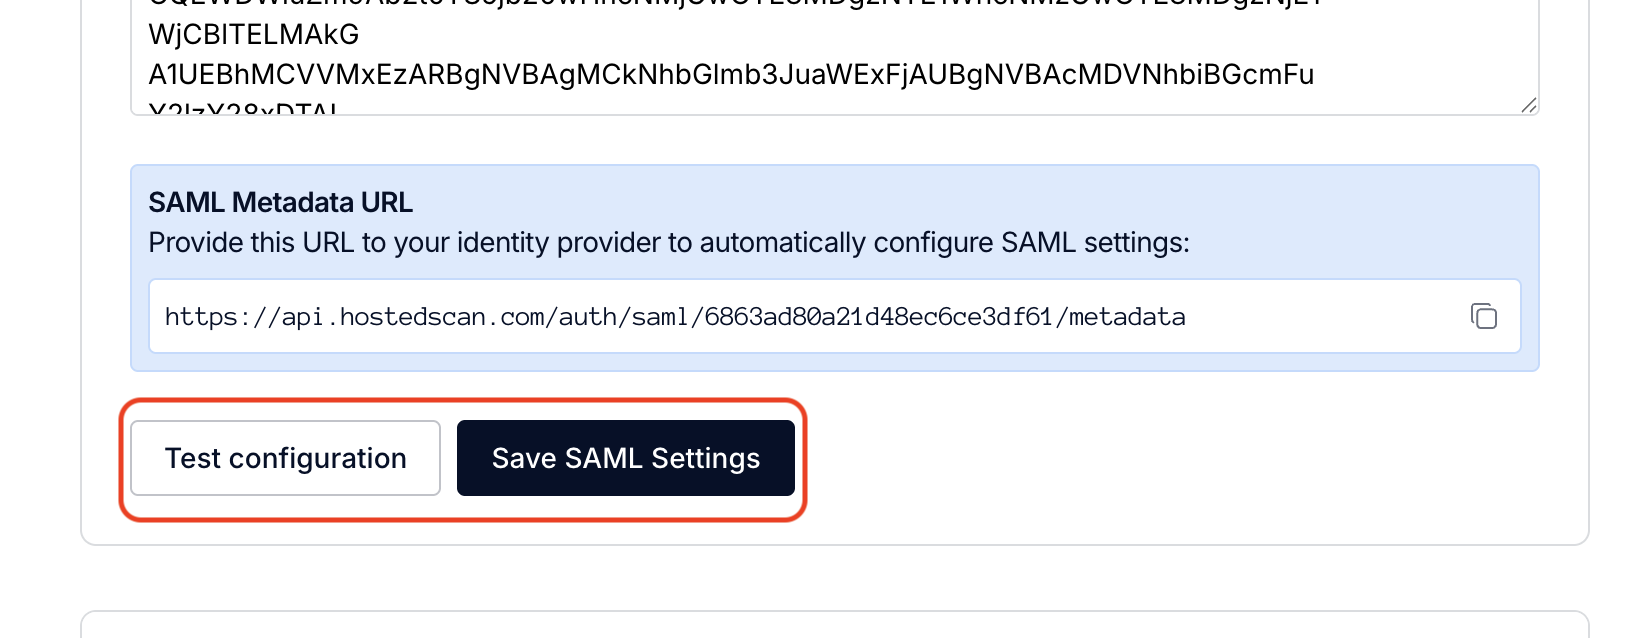
Finally, in HostedScan click Test configuration (optional) and then Save SAML Settings.
Signing in from Microsoft My Apps
Once configured, the enterprise application appears as a HostedScan tile in the My Apps portal and the Microsoft 365 app launcher for every assigned user. Clicking the tile signs the user in to HostedScan directly (IdP-initiated SSO), with no need to start from the HostedScan login page.