Getting started
The most flexible way to authenticate with HostedScan is to record your login sequence for playback during scanning.
Steps to use a recorded login
1. Record the login sequence
HostedScan uses Selenium recordings to capture and replay the login steps for a website. Selenium is a widely-used, open-source tool for recording and automating actions on a web page.
-
Install the Selenium IDE browser extension for Firefox or run the Selenium IDE desktop application. The desktop application can be easily launched using a node package manager such as npm:
npx selenium-ide. Note that the Selenium IDE browser extension is currently not supported in Chrome due to recent changes in Chrome extension requirements. -
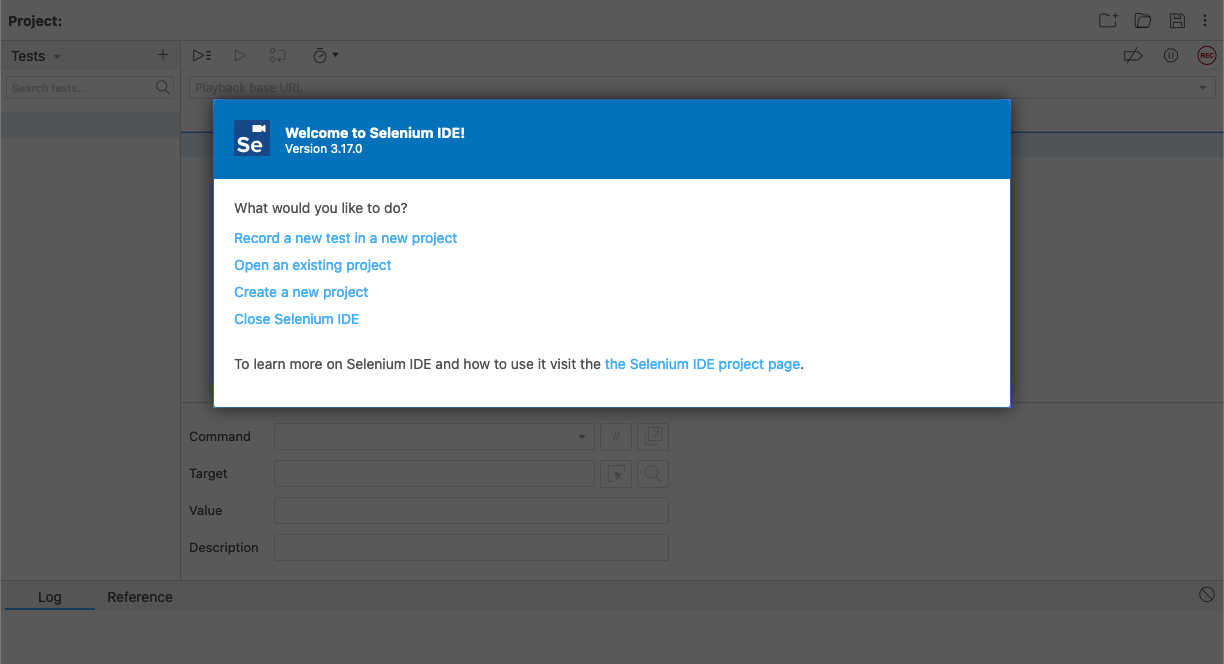
Open the extension and select Record a new test in a new project, enter a name for the project, enter your website's URL, and then click Start recording.
-
Your website will open in a new window where you will make the recording. Authenticate to your website and Selenium will record the actions.
tipAlways use a test user account. Some scans will click buttons and submit forms as part of testing, which could cause changes to the account.
-
After logging in to your website, stop the recording and save it as a
.sidefile.
2. Upload the recording to HostedScan
-
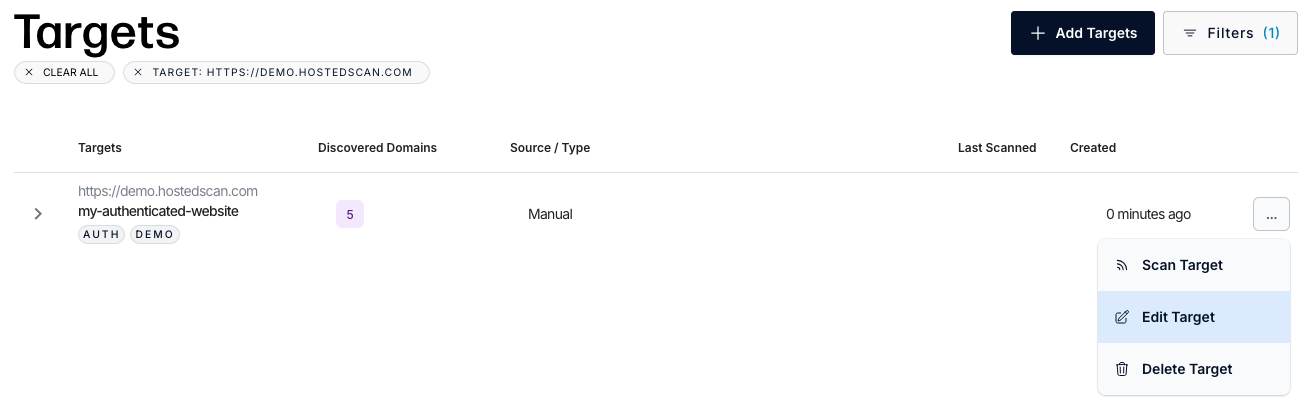
In your HostedScan account, edit the Target you are configuring for authenticated scanning.
-
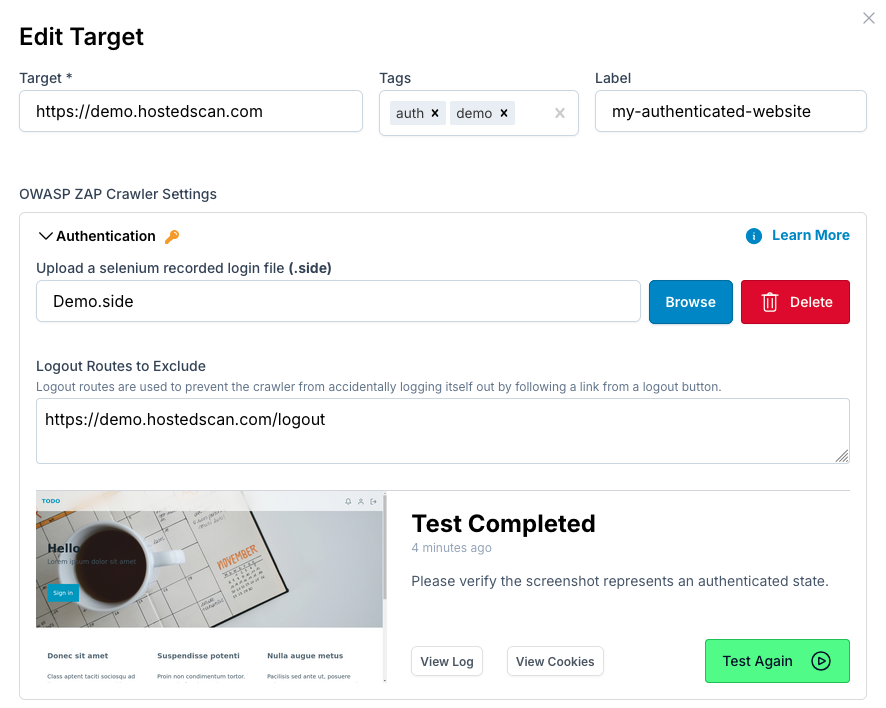
Click Upload New File and upload the .side file that you previously recorded with Selenium.
-
Under Logout Routes to Exclude, list the logout URLs for your application. e.g.
https://mysite.com/logout.tipIt is important to configure these URLs so that the scanner does not visit them and log out during the scan.
-
An authentication test will automatically begin after uploading the recording. Wait for the test to finish and verify that the screenshot shows your website authenticated as you expect.
3. Run a scan!
-
Click the "New Scan" button
-
Select the OWASP ZAP Active Web Application Scan
-
Select your target
-
Continue through the scan options and click "Run Scan"
infoThe scan may take a couple minutes to start as it goes through the authentication process.
FAQ
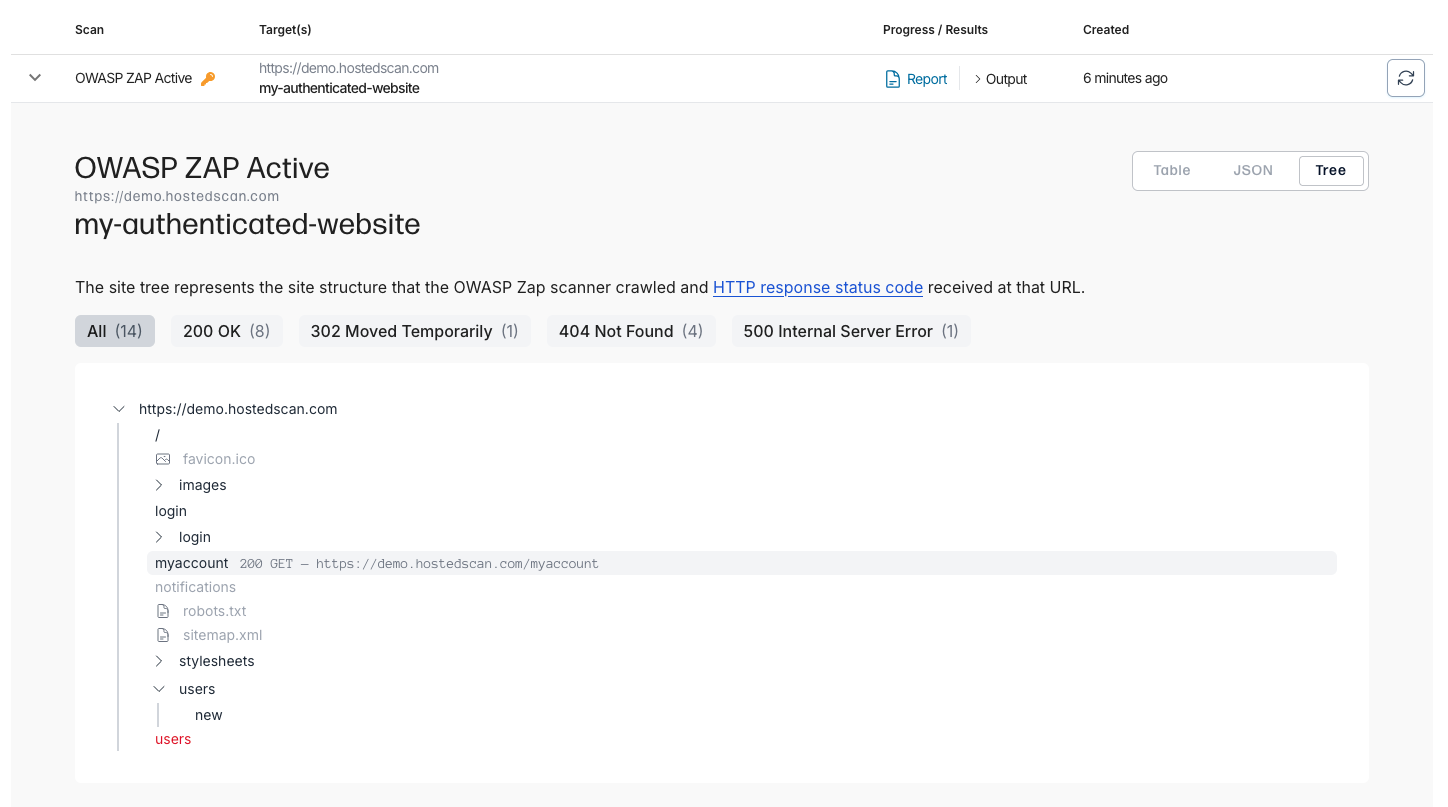
How can I verify which URLs were scanned?
You can find the full tree of URLs scanned in the results on the Scans screen (https://hostedscan.com/scans)
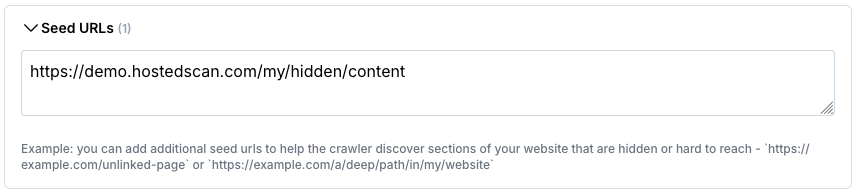
Some of my URLs were not discovered by the scanner
HostedScan supports additional seed urls to help the crawler discover sections of your website that are hidden or hard to reach. Just edit the target and add the additional urls.
My Selenium recording is not replaying as expected?
Read through the Selenium troubleshooting docs.