Tenable Nessus Scanner
A Tenable Nessus Scanner runs on one machine inside your network and scans the hosts around it. HostedScan launches the scans and collects the results, so discovered hosts and their vulnerabilities appear in your HostedScan dashboard alongside everything else you scan.
The Tenable Nessus Scanner is included on the Professional plan.
This secure solution does not require any open ports, tunnels, or other access to your network. The scanner makes outbound connections only.
How it works
You install Nessus on a single scanning host inside the network. During installation it registers with Tenable Cloud using Tenable's linking key, which HostedScan supplies for you, and joins a scanner group that HostedScan creates for your organization. From then on, HostedScan can launch scans on that scanner and pull the results back.
Every host the scanner reports becomes a Target in HostedScan, and each non-informational finding becomes a Risk. Nessus findings with an informational severity are not brought across.
For how this compares with the Nessus Agent and the HostedScan Internal Scanner, see Choosing an option.
Network requirements
The scanning host needs outbound connectivity to sensor.cloud.tenable.com and cloud.tenable.com on port 443. The install command downloads from and registers with sensor.cloud.tenable.com, and the scanner communicates with Tenable Cloud over cloud.tenable.com.
Install the scanner
- On the Internal Networks page, click Install the scanner on the Tenable Nessus Scanner card.
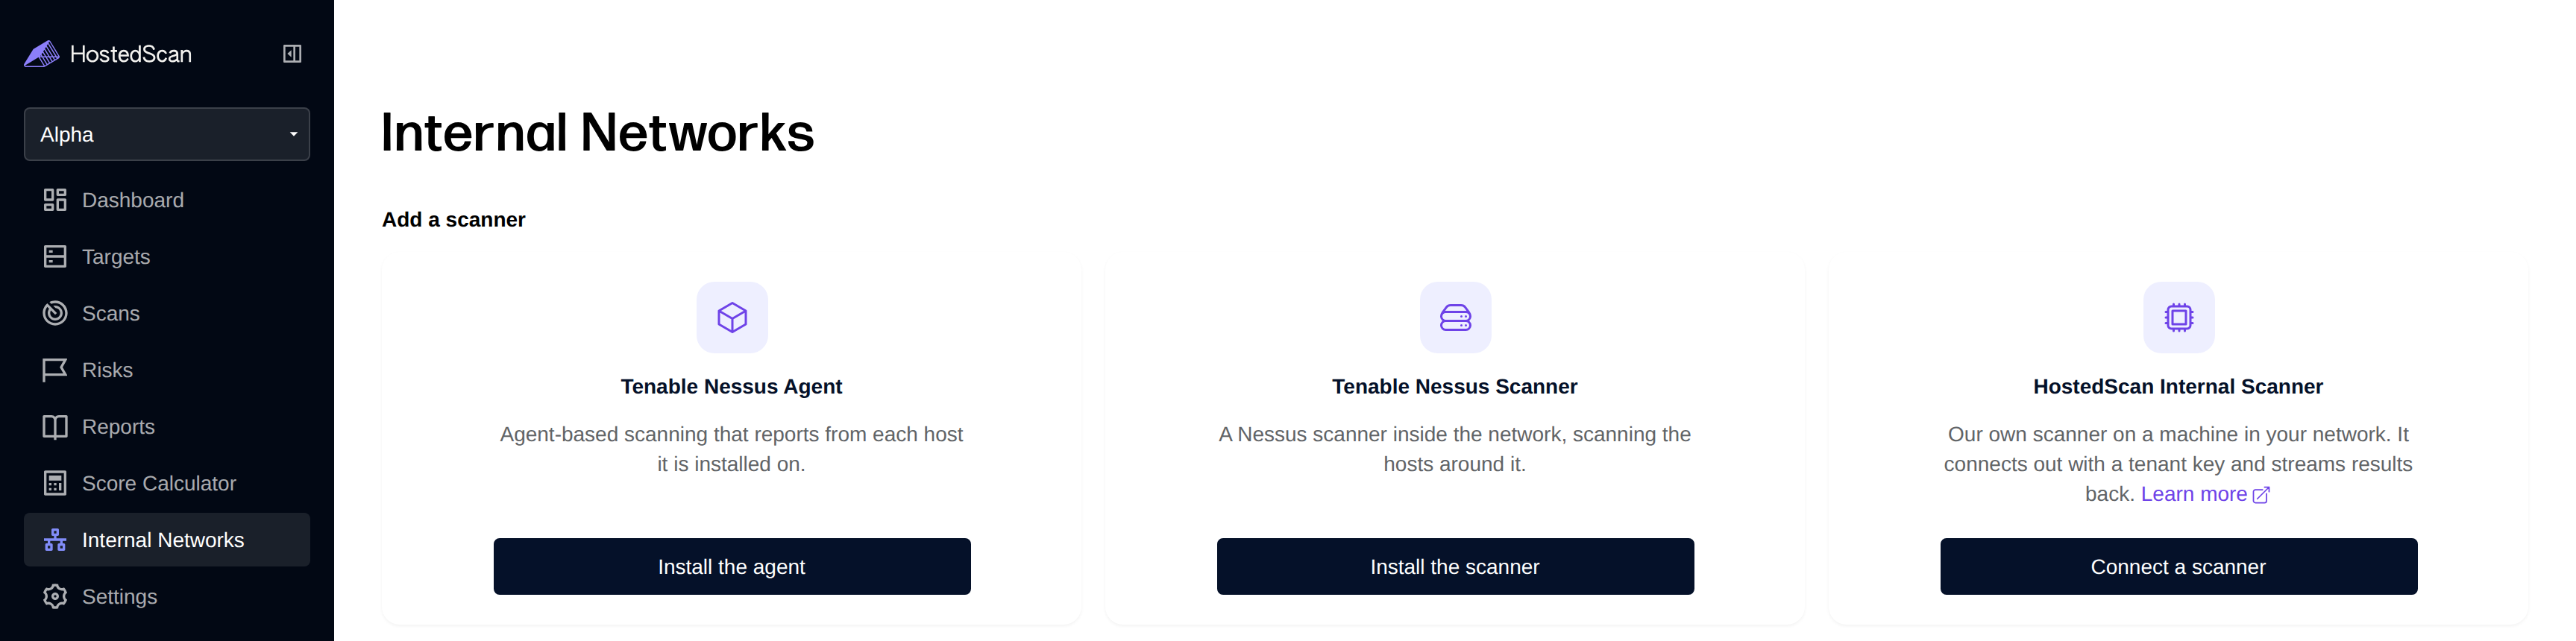
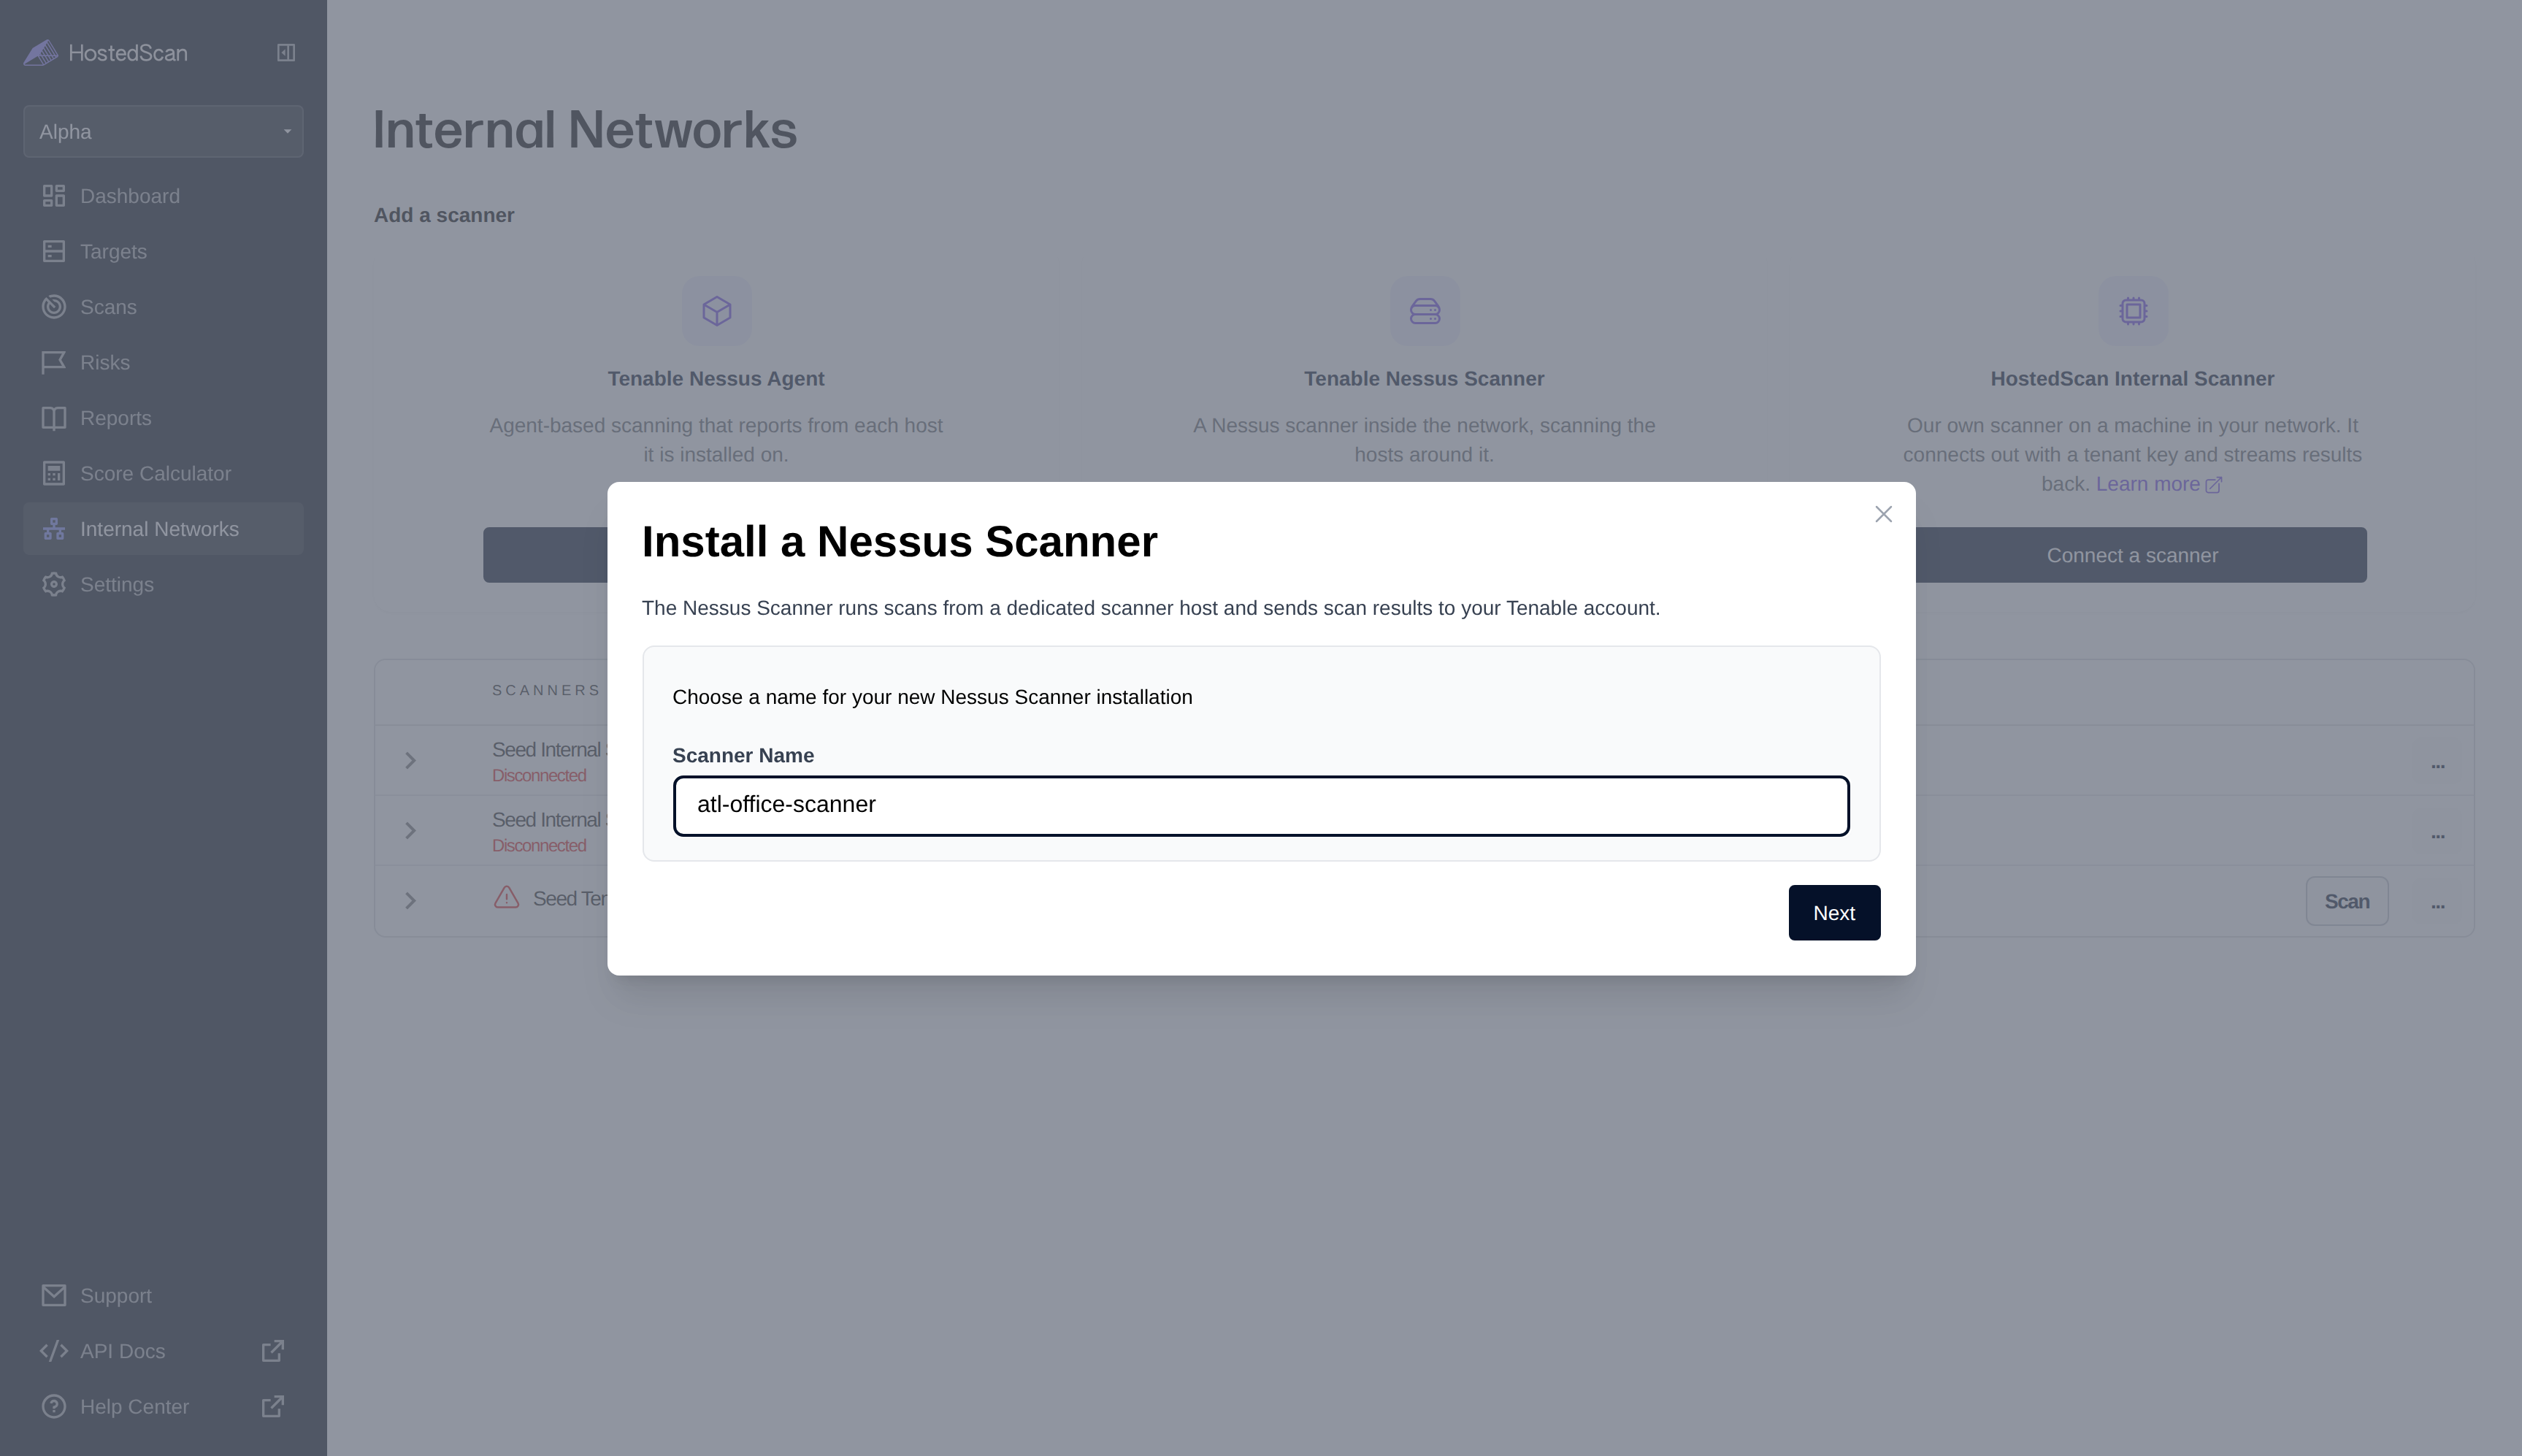
- Choose a name for the scanner and click Next. The name identifies this scanning host in HostedScan and in Tenable.
- Copy the command for your operating system and run it on the scanning host. The command downloads, installs, and links Nessus in one step.
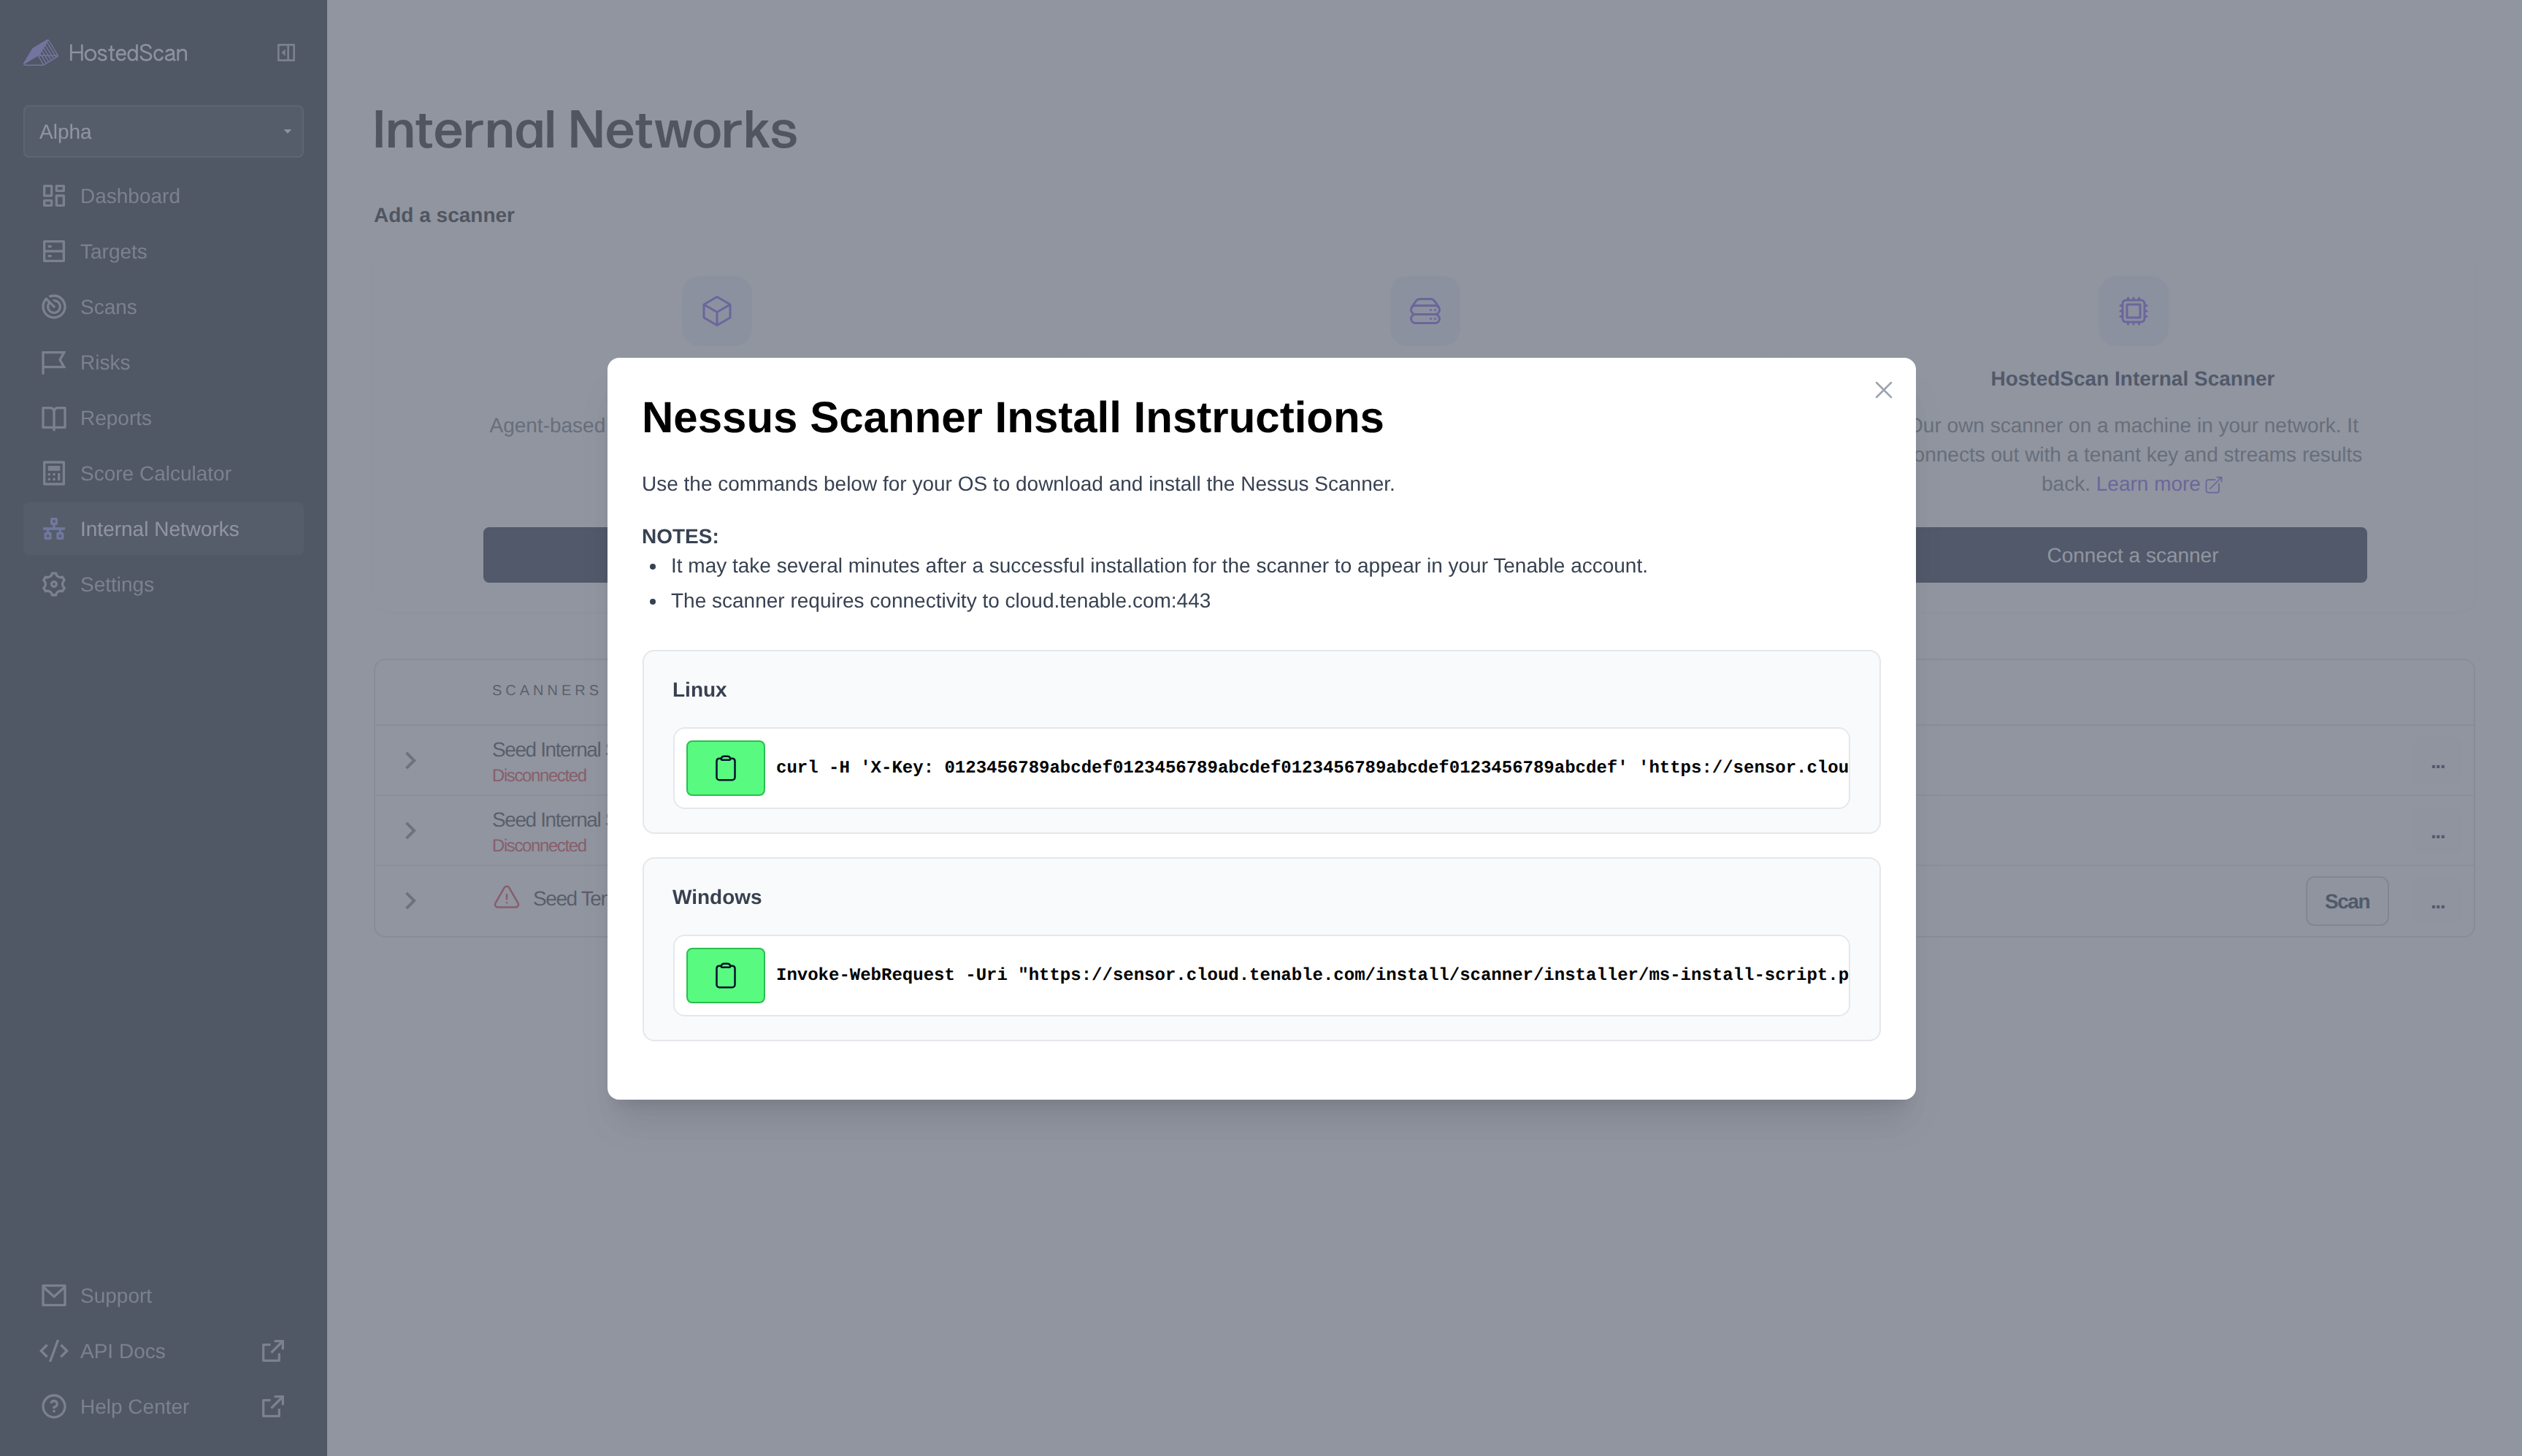
The Linux command ends in | bash, so putting sudo in front of it elevates only curl and the installer still runs unprivileged. Run the whole command as root, or pipe into sudo bash instead. On Windows, use an elevated PowerShell prompt.
- The scanner appears in the Scanners table on the Internal Networks page as Disconnected. It may take several minutes after a successful installation for Nessus to finish linking; the status then changes to Connected.

Run a scan
-
Click the Scan button for your scanner on the Internal Networks page. The button stays disabled while the scanner is Disconnected.
-
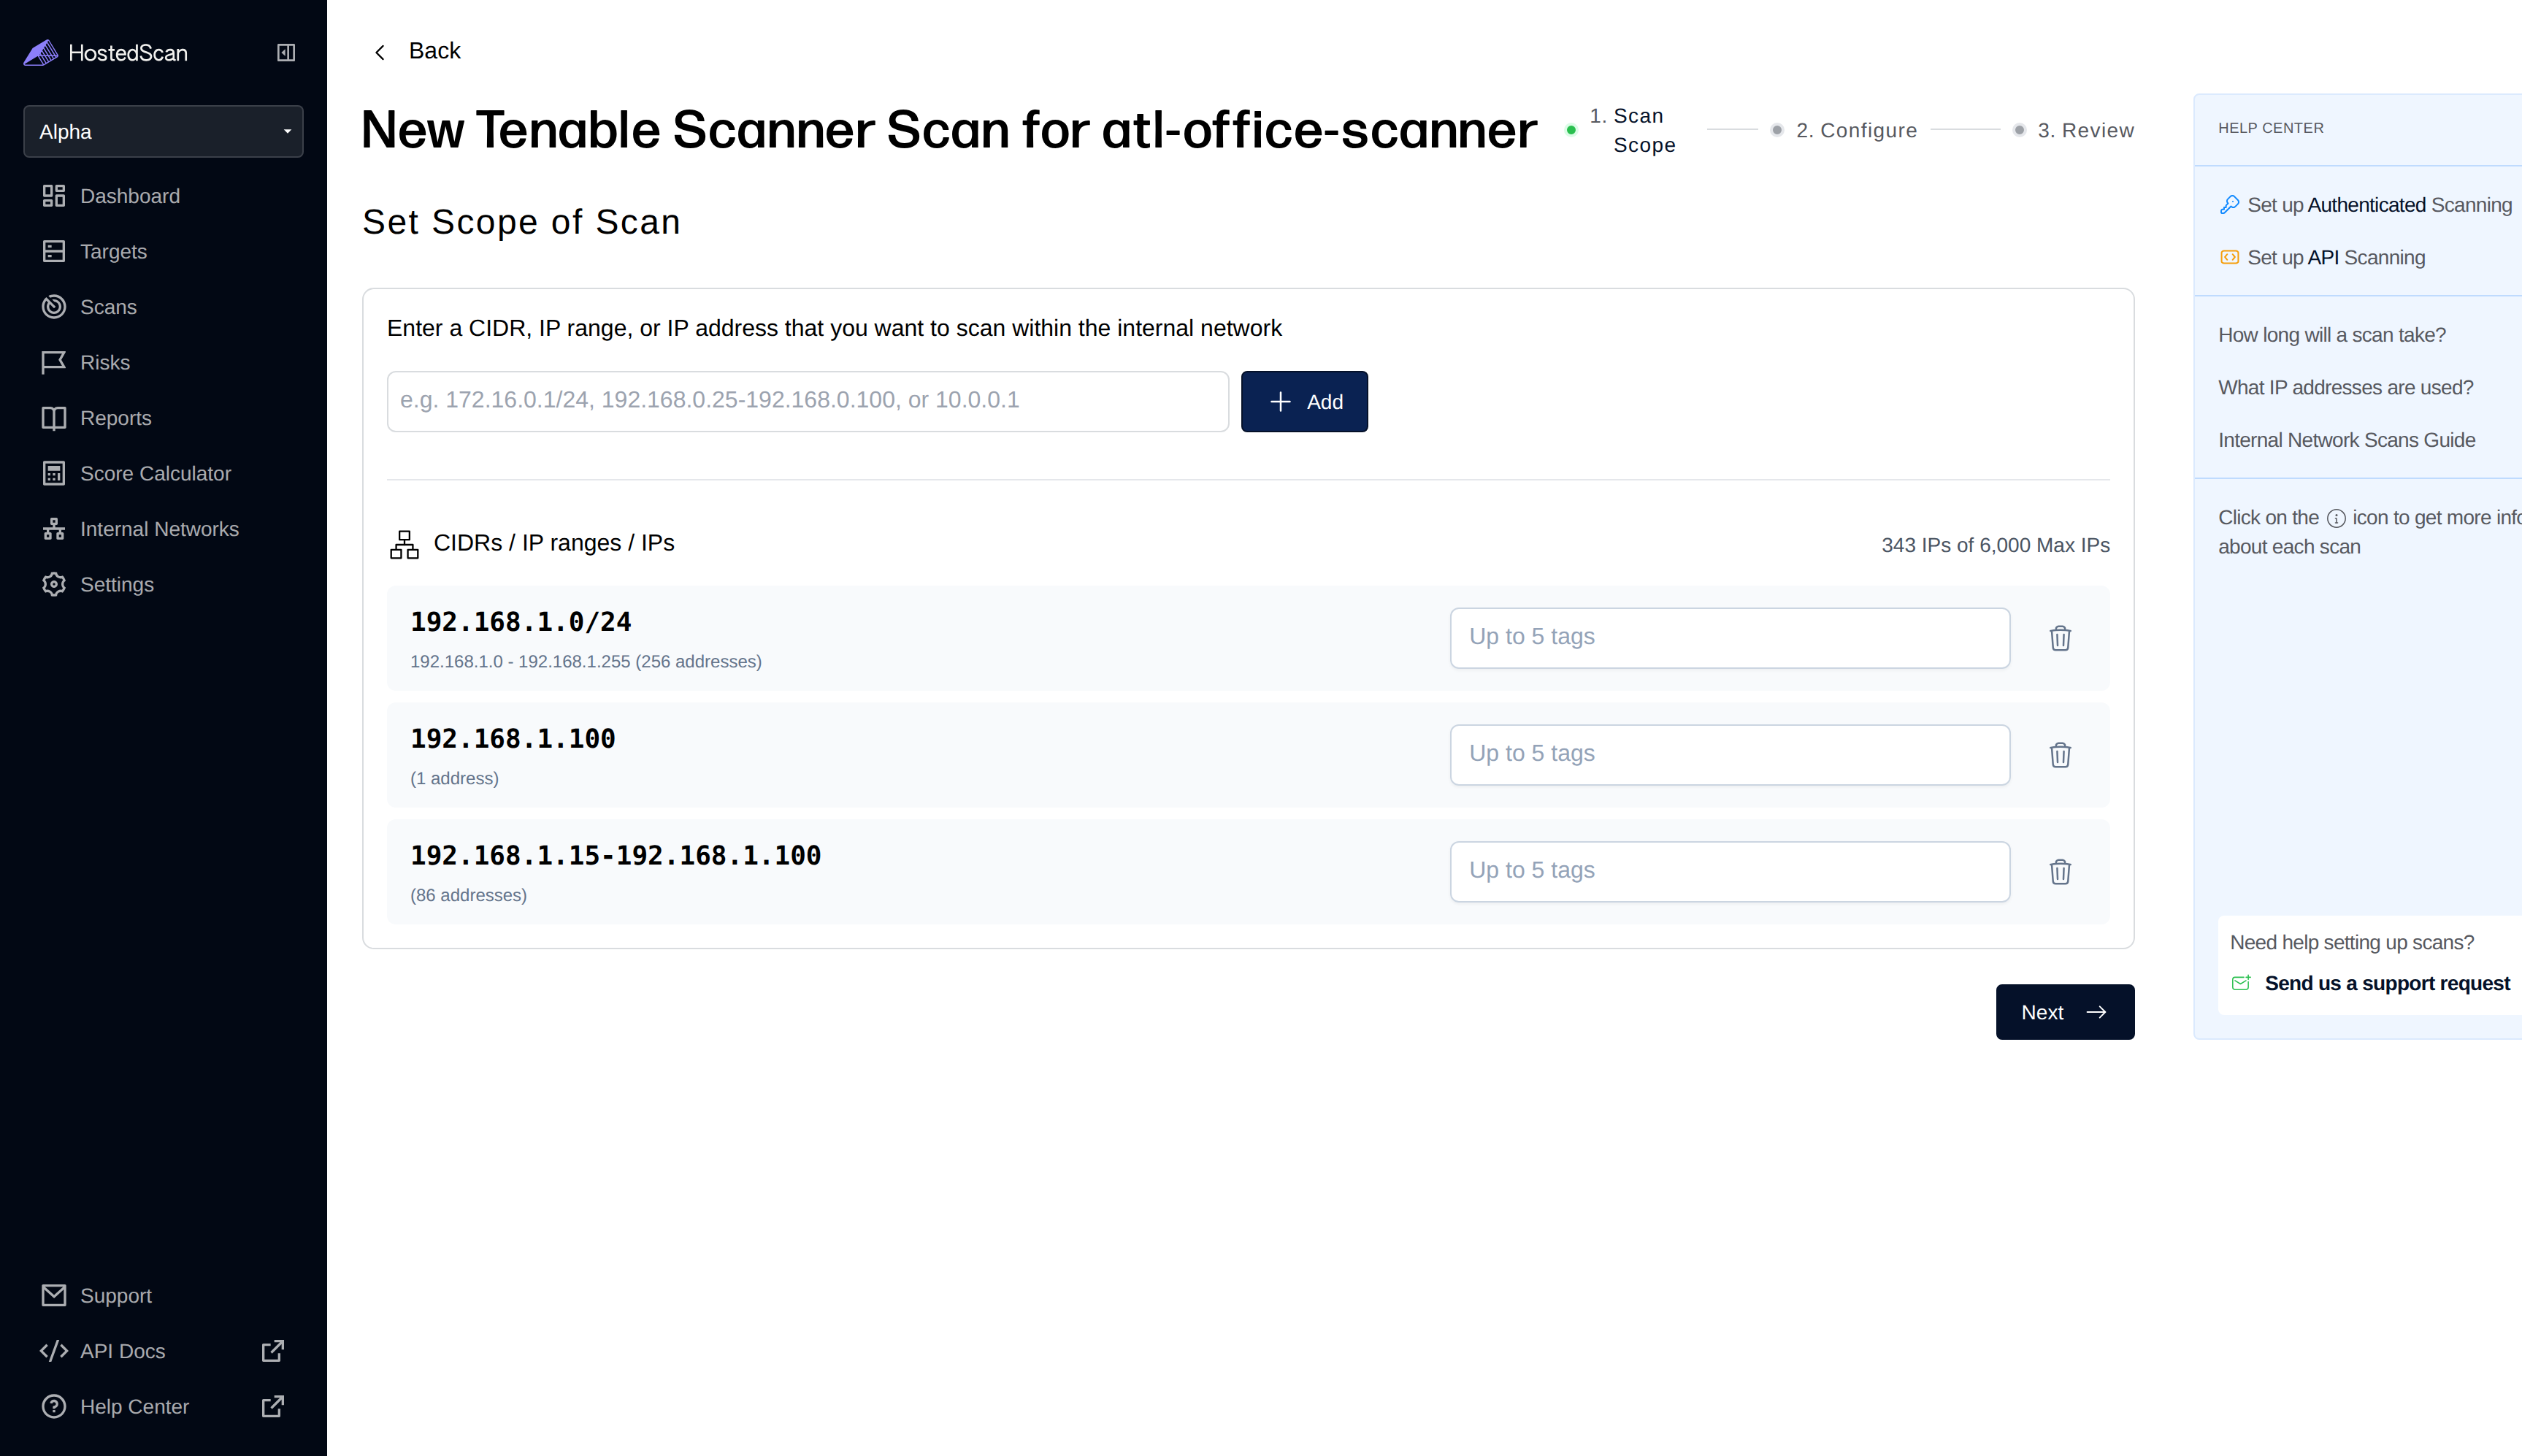
Set Scope: Enter the IP ranges and individual IP addresses you want to scan. You can:
- Add CIDR ranges (e.g.,
192.168.1.0/24) to scan entire subnets - Add individual IP addresses (e.g.,
192.168.1.100) for specific targets - Add ranges of IP addresses (e.g.,
192.168.1.15-192.168.1.100) for specific subranges of targets
A single scan can cover up to 8,190 hosts. Each CIDR range can be at most a /20 (4,094 hosts), so one scan can hold two full /20 ranges.
- Add CIDR ranges (e.g.,
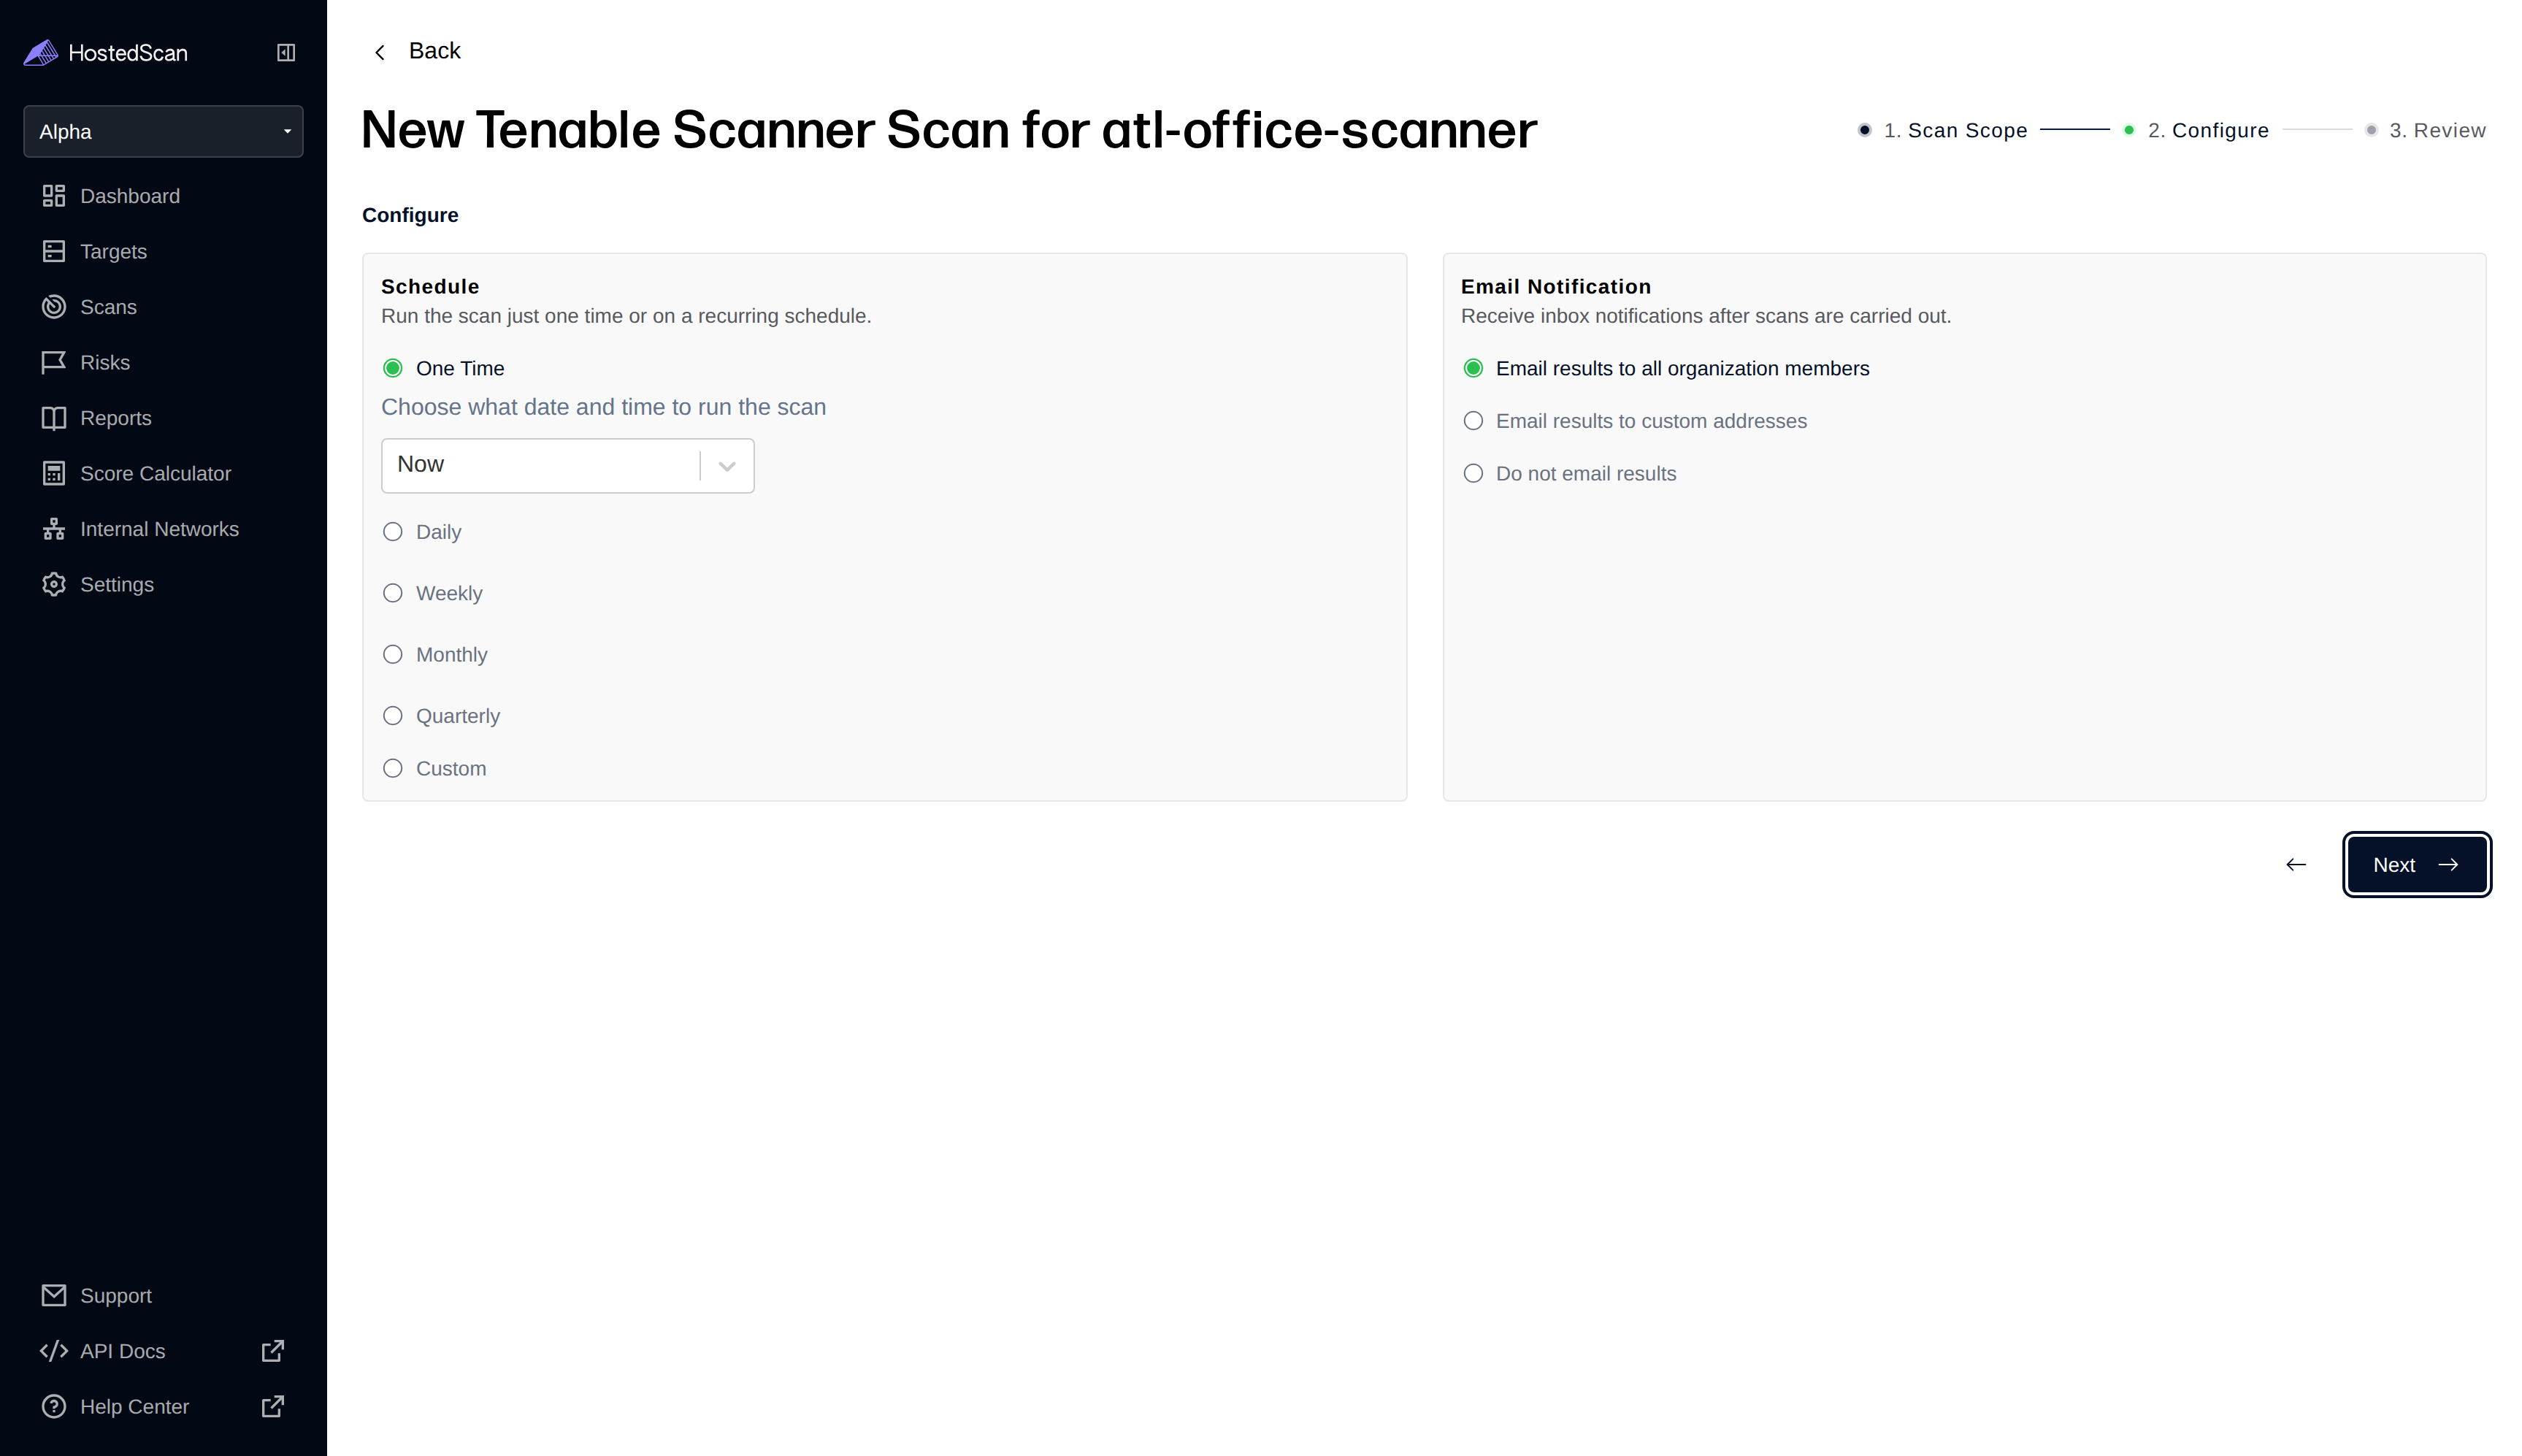
- Configure: Choose when the scan runs (now, at a future time, or on a recurring schedule) and who is emailed when it completes.
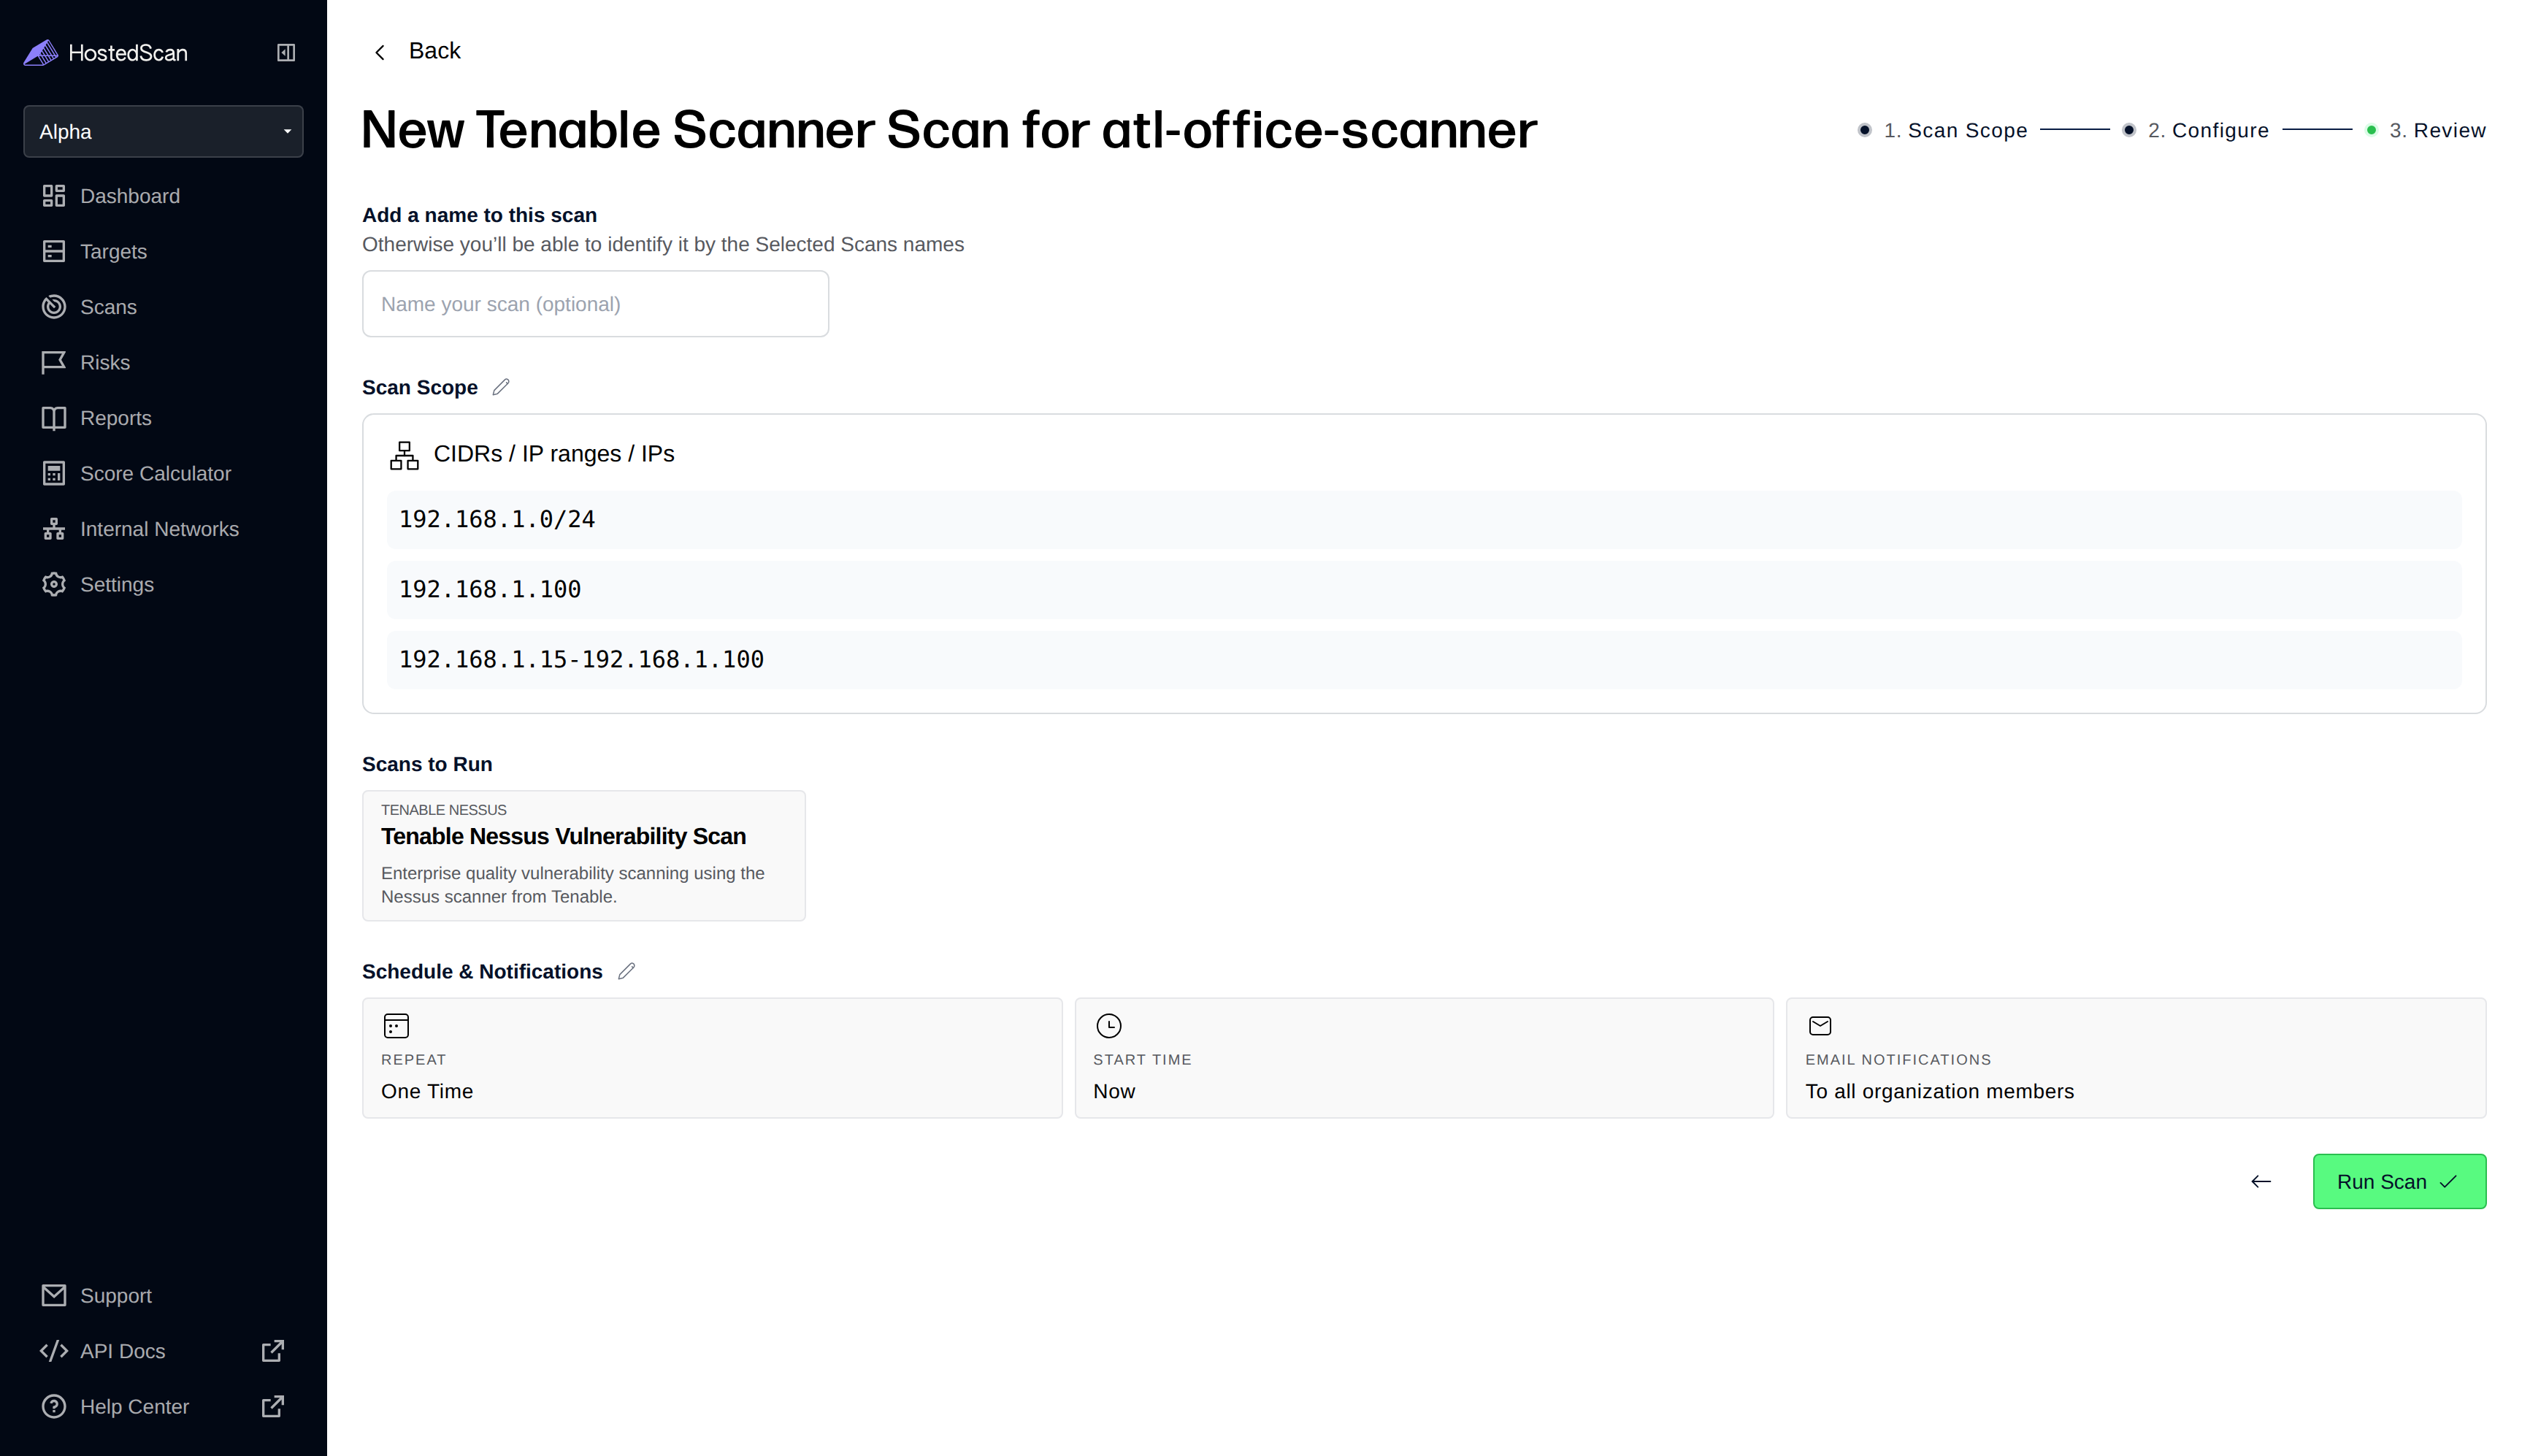
- Review and Start: Review the scan, optionally give it a name, and click Run Scan. If you chose a future start time or a recurring schedule, the button reads Schedule Scan instead.
- Monitor progress on the Scans tab of the scans page. If you chose a future start time or a recurring schedule, the schedule is listed on the Scheduled Scans tab, and each run appears on the Scans tab when it starts. Depending on the number of IPs and services running, scans may take hours to complete.
Once the scan completes, the following information is available in the HostedScan platform:
- Scan reports - can be found on the scans page.
- Discovered Targets - can be found on the targets page. Each host the scanner reported becomes a target, with its hostname and operating system where Nessus detected them. You can use the filters to narrow to the source.
- Detected Risks - can be found on the risks page. You can use filters to narrow to the source.
Authenticated scanning
Nessus can log in to the hosts it scans to perform deeper checks, which finds issues that are not visible from the network alone. On a Nessus Scanner scan, credentials are entered per scan on the Configure step: SSH username and password for Linux and Unix hosts, or a Windows username, password, and optional domain. Up to 5 credentials can be attached to a single scan, and the credentials are transmitted to your linked Nessus scanner through Tenable Cloud.
Credentials currently apply only to scans that run now, not to scheduled scans. If you switch the scan to a future start time or a recurring schedule, any credentials you entered are removed.
For authenticated scanning with the HostedScan Internal Scanner instead, see the Authenticated OpenVAS Scanning guide.
Remove a scanner
To stop using a scanning host, open the ... menu on the scanner's row in the Scanners table and choose Delete Source. Deleting the source stops any running or queued scans, removes its scheduled scans, deletes the targets it discovered along with their risks, and unlinks the scanner from Tenable. To scan with that machine again, add a new Nessus Scanner and rerun the install command on it.
Need Help?
If you encounter issues with Nessus Scanner installation or internal network scanning, Contact support at hello@hostedscan.com for assistance.